Knowing what the customer journey is and how to make it better for your target audience is key to good UX.
In this post, we’ll talk about what the customer journey is, how to use it, and how to improve it.
What is the Customer Journey?
The customer journey is the path people take from first hearing about your business to becoming a loyal customer (or not).
Mapping this journey helps you understand how your customers think, feel, and act at each stage.
The better you understand the customer journey, the better you can design for it.
The 5 Common Stages of the Customer Journey
1. Awareness
Awareness is the top of the funnel. It’s when a potential customer first realizes they have a problem or need. They might not even be actively looking for a solution yet at this point. But if you understand the customer journey, you can make sure your product is primed to solve their problem.
The common triggers for awareness include:
- A pain point popping up, like a realization that their child has a hard time falling asleep without a white noise machine. Or the desire to find an easy way to book campsites. Or an ache or pain they’re fed up with dealing with.
- Coming across content that highlights a problem—a blog post, video, or podcast, for example.
- Seeing an ad or social media post about a solution (your solution!)
- Getting a recommendation from a friend.
The best way to take advantage of the awareness phase of the customer journey? Make sure your product is easy to find. Invest in SEO, content marketing, and social media to help organically capture your audience’s interest. Use paid ads to get your product in front of people’s eyes.
The goal: Help customers name their problem and start linking your brand with possible solutions for it.
2. Consideration
At this point, the customer knows what they want or need. They’ve moved into the researching phase. They’re actively looking for and comparing solutions.
By this stage of the customer journey, trust and clarity are your biggest assets.
Your customers will be:
- Visiting product pages
- Reading reviews from everywhere they can find them
- Watching explainer or demo videos of your product
- Browsing blog posts, whitepapers, or guides
- Comparing features and pricing between multiple solutions
Here’s what you can do to position your brand in the best light during the consideration stage.
First, give honest comparisons between your product and competitors in blog posts and videos. Do this without bashing your competitor or overtly positioning yourself as the best solution.
Just give readers the facts, and trust them to choose the tool that works best for them.
Yes, that’ll hopefully be your tool. But it won’t always be, and that’s OK.
Next, offer free trials, demos, or consultations to give potential customers a risk-free way to get to know your product. Use retargeting ads to keep your solution top-of-mind for folks who have already shown interest.
And finally, encourage your current customers to give reviews, testimonials, and case studies as social proof.
The goal: Make it easy for potential customers to see that your product offers an excellent solution—without being pushy about it.
3. Purchase
This step in the customer journey can feel like the end, but it’s not. It’s a key turning point. A plot point, if you’ll indulge my creative writing background.
You’ve got a new customer, but things can go south if you don’t keep taking care of them throughout the customer journey.
The last thing you want is for a bad checkout or onboarding experience to ruin your win—the purchase.
Right now, your customer will be:
- Adding a product or service to the cart or contacting your sales team
- Completing checkout or signing contracts
- Interacting with onboarding materials or customer onboarding reps
Here’s how you can make sure the purchase experience is worth it for your new customer:
- Streamline the checkout process —fewer clicks and clear costs are always better than a bazillion steps. Make sure to show taxes and fees early in the checkout process, not at the end.
- Offer reassurance, like a guarantee, return policy, or proof of the security of your checkout process
- Follow up with onboarding content like a welcome email or tutorial. Even better, a welcome email that includes all the tutorials, guides, and support contacts your new customer might need.
The goal: Remove friction and help customers feel happy and confident about their choice to make a purchase.
4. Retention
Retention is where the real return on investment (ROI) kicks in. As Harvard professor Sunil Gupta said in a customer retention piece for the Harvard Business School, “It costs far more to acquire a new customer than it does to retain that customer.”
And according to Fred Reichheld of Bain & Company, “a 5% increase in customer retention produces more than a 25% increase in profit” in the financial services sector.
So, an ounce of retention is worth a pound of acquisition.
In the retention phase, customers will be using the product, contacting support if issues crop up, and receiving product updates.
If they’re happy, the might even be upgrading to a higher level of service or a pricier product in your suite.
Here’s what you can do to retain your customers at this stage:
- Send re-engagement emails or product tips
- Offer personalized support that’s easy to reach—the less frustration customers have to endure, the better
- Use feedback loops (surveys, customer value optimization) to identify risks and areas of improvement
- Launch loyalty programs, discounts, or exclusive content to keep customers engaged with your brand
The goal: Keep customers satisfied, supported, and successful, and they’ll be more likely to stay loyal to your brand.
5. Brand Advocacy and Loyalty
When a customer consistently has excellent experiences with your brand, they’re more likely to become a brand advocate.
This means they’ll:
- Keep making purchases/continue their subscription
- Spread the word about your product or service to their network
- Leave good reviews on Google, Yelp, G2, and other relevant review sitess
- Make positive, organic posts on social media
This is what you want! Word-of-mouth is still one of the most valuable forms of marketing. It just looks a little different today, in a social media and internet-driven world, than it did in the 1980s or, heck, the 1880s.
Your job here is to make brand advocacy easy for your happy customers.
You can do this by:
- Making it easy for happy customers to refer others with referral programs and shareable links
- Actively ask for reviews after great experiences
- Recognize and reward loyalty with exclusive discount codes and thank-you gifts
- Highlight happy customers in case studies or social media posts, with their permission
The goal: Turn delighted customers into promoters of your brand. The more they spread the word, the more potential new customers you’ll funnel into the customer journey.
Customer Journeys Differ Widely By Industry
The framework of a customer journey can be fairly similar from one industry to another. That said, the actual paths customers take are often completely different.
In some industries, steps like awareness and consideration are short and fast. In others, they’re long and drawn out.
Take SaaS (software as a service), for example. Brands usually deal with longer, more complex customer journeys here. Customers know they’re investing in a long-term subscription or recurring, yearly purchase, and they’re likely to put a lot of work into setup and maintenance.
Case in point: I use FreshBooks for accounting. I’ve used it since 2019, and it would be a pain in the you-know-what to move all my information to another platform.
That’s why I took my time doing research and looking for the perfect SaaS platform for invoicing and accounting as a freelancer.
Of course, this can feel super long for brands, especially if they’re waiting with bated breath for a purchase. But the payoff can be big.
In ecommerce, the journey is usually lightning-quick. Someone has a problem, sees an ad, adds something to their cart, and checks out. All in one day. Or even in one afternoon. Or one hour.
Because of this, ad placement, easily navigable product pages, and smooth checkout processes are a must.
For retail, you’ll want to pay extra attention to store layout, clear signage, and positive staff interactions. If you have a mobile or internet presence too, as most retail brands do these days, you have to make sure that interface is seamless as well.
How to Map a Customer Journey for Your Business
Ready to start harnessing the power of the customer journey?
No matter what industry you’re in or business model you use, this framework gives you a starting point for creating a customer journey map from scratch.
1. Define Your Customer Personas
Start by figuring out the different types of customers your product or service best serves. Each persona should include demographics, behaviors, motivations, goals, and pain points.
A key tip here is to avoid relying on assumptions. What you think your customer persona should be isn’t always what it actually is.
Use interviews, customer management systems, and research to create accurate personas.
2. List Out All Customer Touchpoints
Map out every interaction a customer might have with your brand, both online and offline.
Do they first learn about you on a Reddit thread? Jot it down. Do they encounter your ads on Google? Make note of it. Do they get a welcome email after their purchase? Include this touchpoint on your list.
Basically, put yourself in your customer’s shoes and walk through your funnel. You’ll probably find more touchpoints than you think.
3. Identify Pain Points and Friction
Find where your customers are getting stuck or frustrated as they interact with your product.
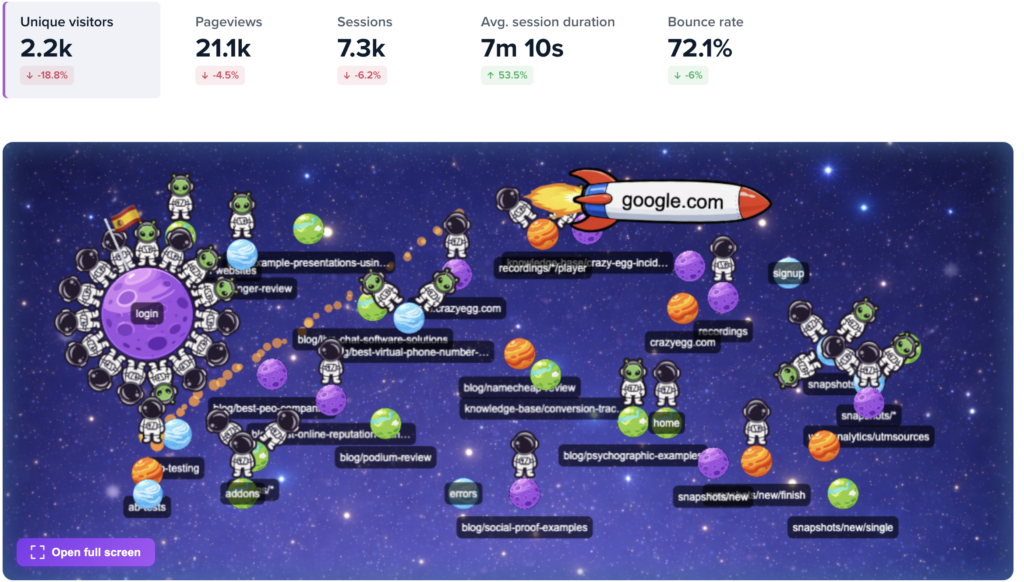
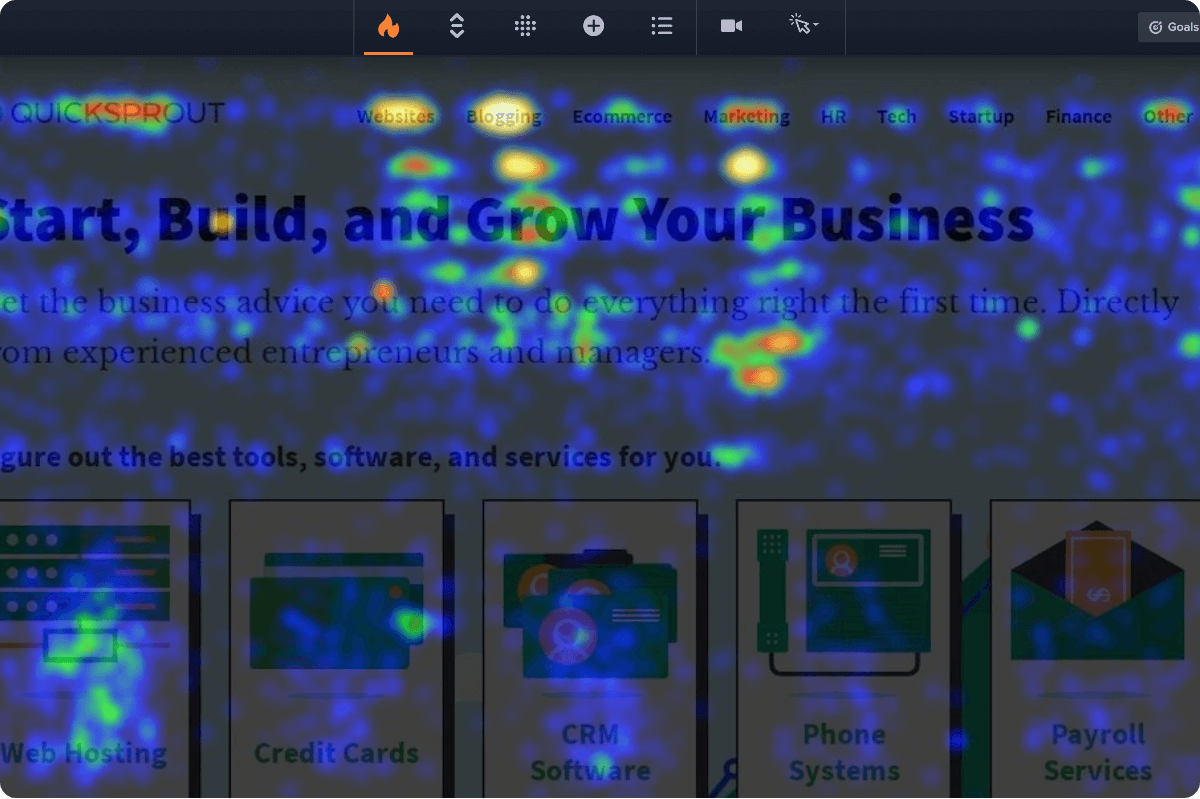
Use a mix of qualitative and quantitative data to pinpoint these areas. I’m talking surveys, session recordings, heatmaps, support tickets, and analytics.
As much as you hope your customer experience is already perfect, there probably are problem areas. It’s your job here to find them.
4. Map the Emotional Experience
Work on understanding what the customer feels at each step. Walk through the funnel again and ask yourself what they might be thinking or feeling at every moment.
What questions would your customers have? Do they feel empowered? Do they feel overwhelmed?
Get third-party usability testers to help you with this part so there’s as little bias as possible.
5. Sketch the Current Journey
Now that you have an idea of what the journey looks and feels like, create a visual representation of the path. Use flowcharts, Trello, or Notion boards to map it out in a way that makes sense for your team.
Map out what the journey looks like at each of these stops:
- Awareness
- Consideration
- Purchase
- Retention
- Loyalty
6. Create the Ideal Customer Journey
Use your findings to redesign your actual customer journey the way you want it to work for your customers.
This is the expectation part of the whole expectation vs. reality thing.
The goal is to create a polished journey map you can share with your product, marketing, sales, and CX teams.
Use it to refine everything about your operations—until expectation becomes reality.
How is the Customer Journey Different from the Buyer Journey?
The buyer journey focuses on the steps a potential customer takes before they make a purchase. It’s tightly focused on the awareness, consideration, and decision phases.
So basically, it’s a small slice of the overall customer journey, which includes the entire experience someone has with a brand.