Making a website used to be a time-consuming and expensive project. Business owners often had to hire agencies that charged a bomb to build a professional and somewhat boring-looking website.
Times have changed, thankfully. Today, we have WordPress.
WordPress is a content management system that has made everything more convenient, inexpensive, and just easier. You can have a brand new, functional, and attention-grabbing website up surprisingly fast—sometimes in a couple of hours, depending on how much content and customization you need. What’s more, you don’t need much technical knowledge to get started.
Read on as we show you a step-by-step tutorial to build a WordPress website.
Why Building a WordPress Website Is Worth It
WordPress powers about 43% of the web, which is nearly half of all websites online, so it’s a pretty big deal.
And honestly, we aren’t surprised. WordPress is amazing.
First off, the platform is free and open source. You don’t have to pay anything to use the core software, and you can customize it and add new features to your website however you want. You also get access to a large professional community that ensures you have all the help, tools, and guidance you need—always. Plus, it doesn’t take a genius to manage and maintain a WordPress site.
However, one of the biggest advantages of being on WordPress is its gigantic plugin library, which is still growing!
There’s an almost infinite number of plugins that let you add any functionality you want, ranging from product management to payment integrations to SEO. Even the WordPress themes—free and premium—are responsive, beautiful, and functional.
You can do it all on WordPress, whether it’s starting a blog, making a business website, starting an online store, selling online courses, or building a membership website.
What’s not to love, right?
The Investment Needed to Build a WordPress Website
WordPress is free, yes. But there’s a catch.
When you start creating a website, there are a few hidden and not-so-hidden costs you have to take into account. Here are a few of them:
- Buying a Domain. This usually costs about $10–$20 per year for a standard domain.
- Picking a WordPress-centric Web Hosting Plan. Entry-level plans can start around $1.99 per month on the longest terms with current promos.
- Installing a WordPress Theme and Plugins. There are plenty of free themes and plugins on the internet, but you’ll have to go for premium versions if you want more features and deeper customization. Premium themes typically start around $50–$70, while many premium plugins begin around $15–$20 and can go much higher depending on what they do.
As you can see, even a basic website comes with some cost, and if you want more advanced features and functionality, the price will go up accordingly.
If you want deeper customization, you may also need to hire a WordPress developer, which can easily push your first-year costs well past $1,000.
Note: The cost of launching an ecommerce site will usually be higher because you’ll need more functionality, stronger performance, and tighter security.
This is your monetary investment.
In terms of time and effort, setting up a WordPress site can take anywhere from one hour to a couple of days, depending on your skill level, how much content you already have, and how polished you want the site to look at launch.
Now, let’s concentrate on the main part: building an actual WordPress website. The whole process is pretty straightforward, comprising the following steps:
Step 1: Pick a Domain Name
Step 2: Sign Up With Hostinger Or Another Hosting Service
Step 3: Install WordPress
Step 4: Sort Out Your Website Theme and Design
Step 5: Add Relevant Content to Your Website
5 Steps to Build a WordPress Website
Read on as we discuss how to create a WordPress website in the easiest way possible in just five simple steps.
Step 1: Pick a Domain Name
Your domain name is your custom web address. For instance, our domain name is www.crazyegg.com. Yours can be whatever you want—provided it isn’t already taken by someone else.
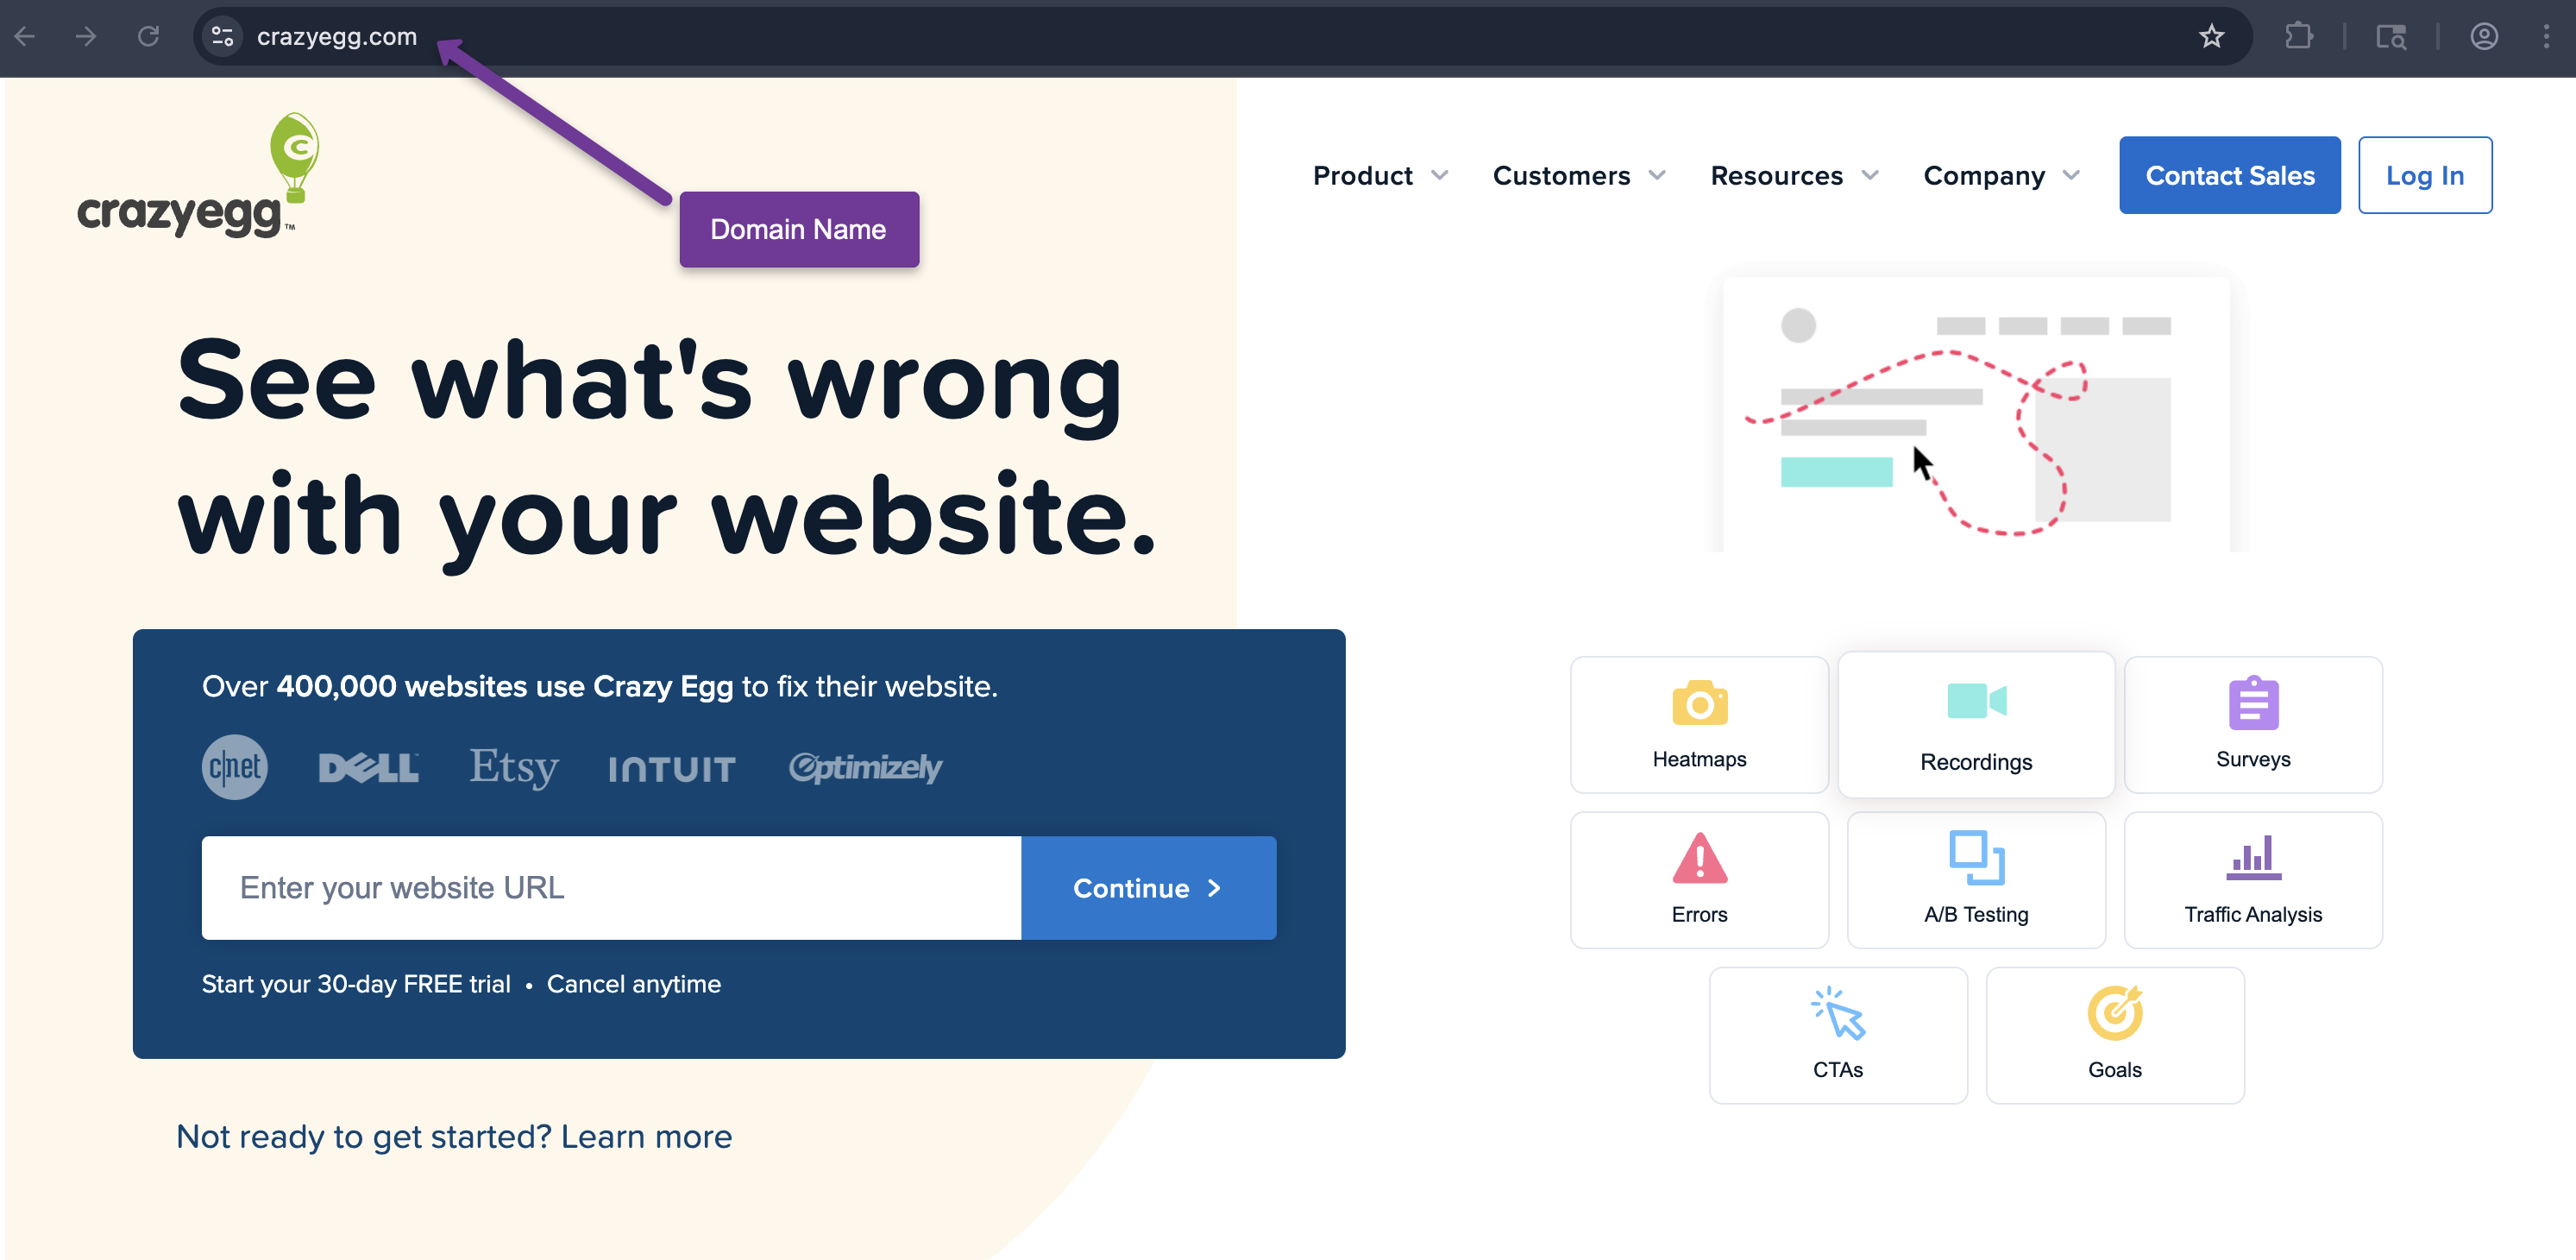
Go to a domain registrar to buy a domain name and search for the address you want. We recommend packaging your domain name and hosting with Hostinger. You can also try a domain-specific registrar, like Domain.com, but you can choose any reliable provider.
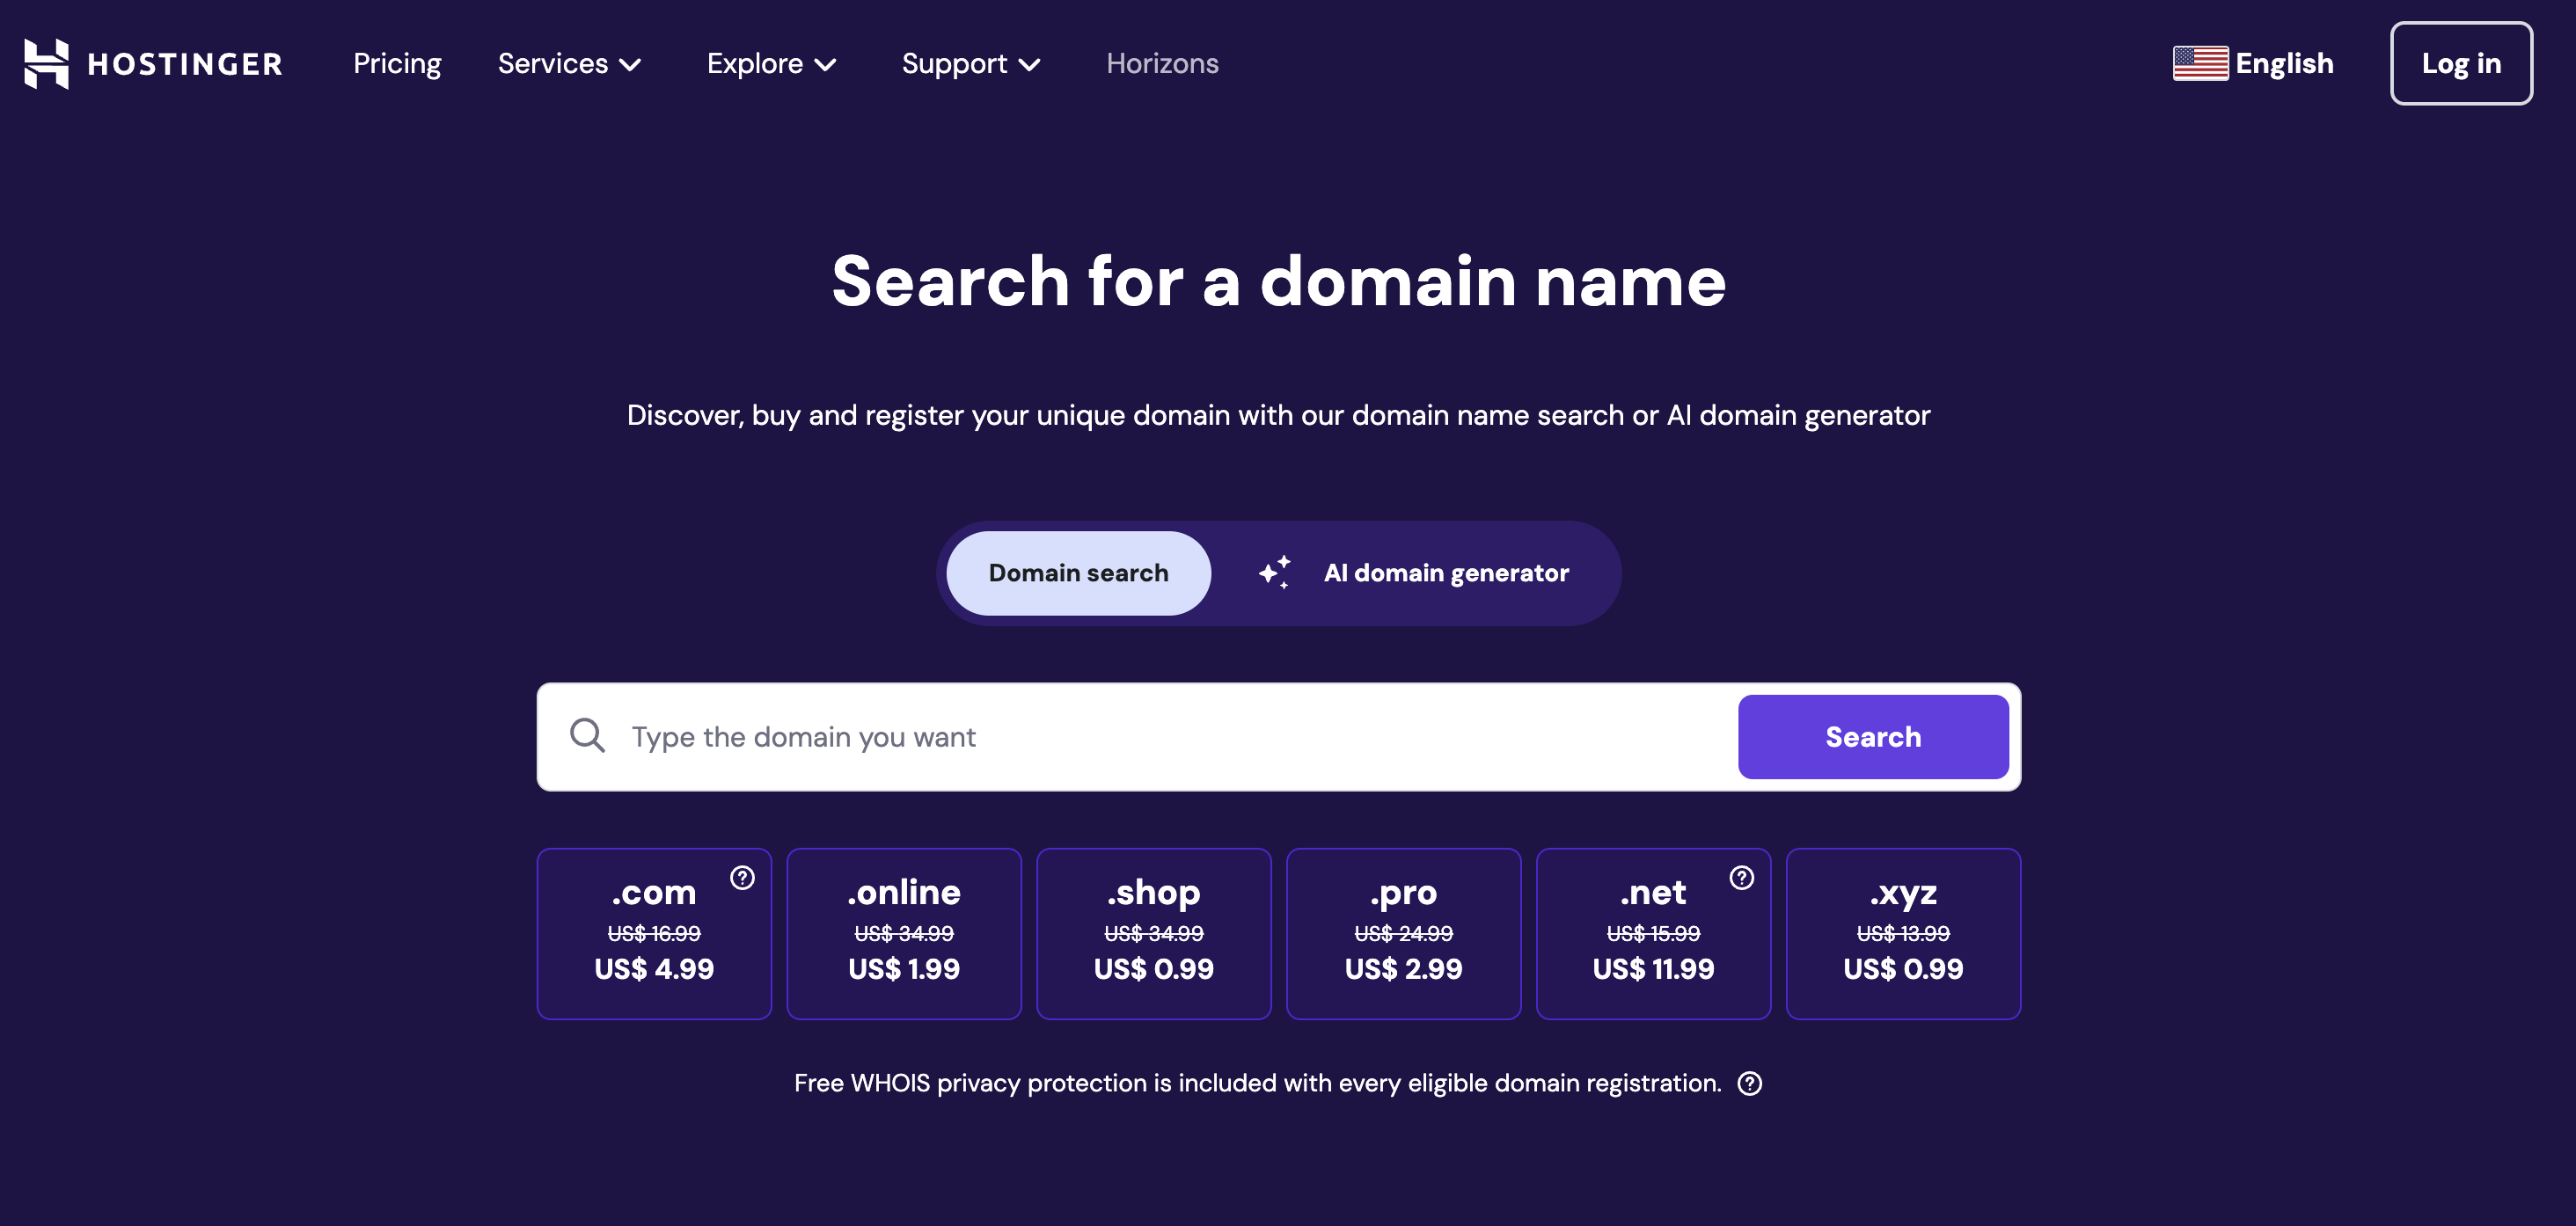
Also, there’s a specific trick to picking a good domain name.
It should be short, easy to remember (and guess!), and niche-related. And while ending your domain name with a .com is often preferable, you can also go with .net, .org, .co, or another extension that fits your brand.
Crazy Egg Tip: Can’t seem to come up with a decent domain name? Use free website name generators like Domain Wheel for inspiration. All you have to do is type in your niche keyword, and the tool will give you tons of domain name ideas.
Step 2: Sign Up With Hostinger Or Other Hosting Service
Getting a good and reliable WordPress hosting service can be a bit daunting at first. After all, there are so many factors to consider, ranging from security to performance to affordability.
A hosting provider is necessary because, without someone to host your website, your WordPress site won’t be online and visitors won’t be able to see your content.
Technically speaking, your WordPress hosting provider should support the following:
- A current version of PHP
- MySQL or MariaDB
- Apache or Nginx with the ability to use pretty permalinks
- HTTPS support
Luckily, there are quite a few options you can explore.
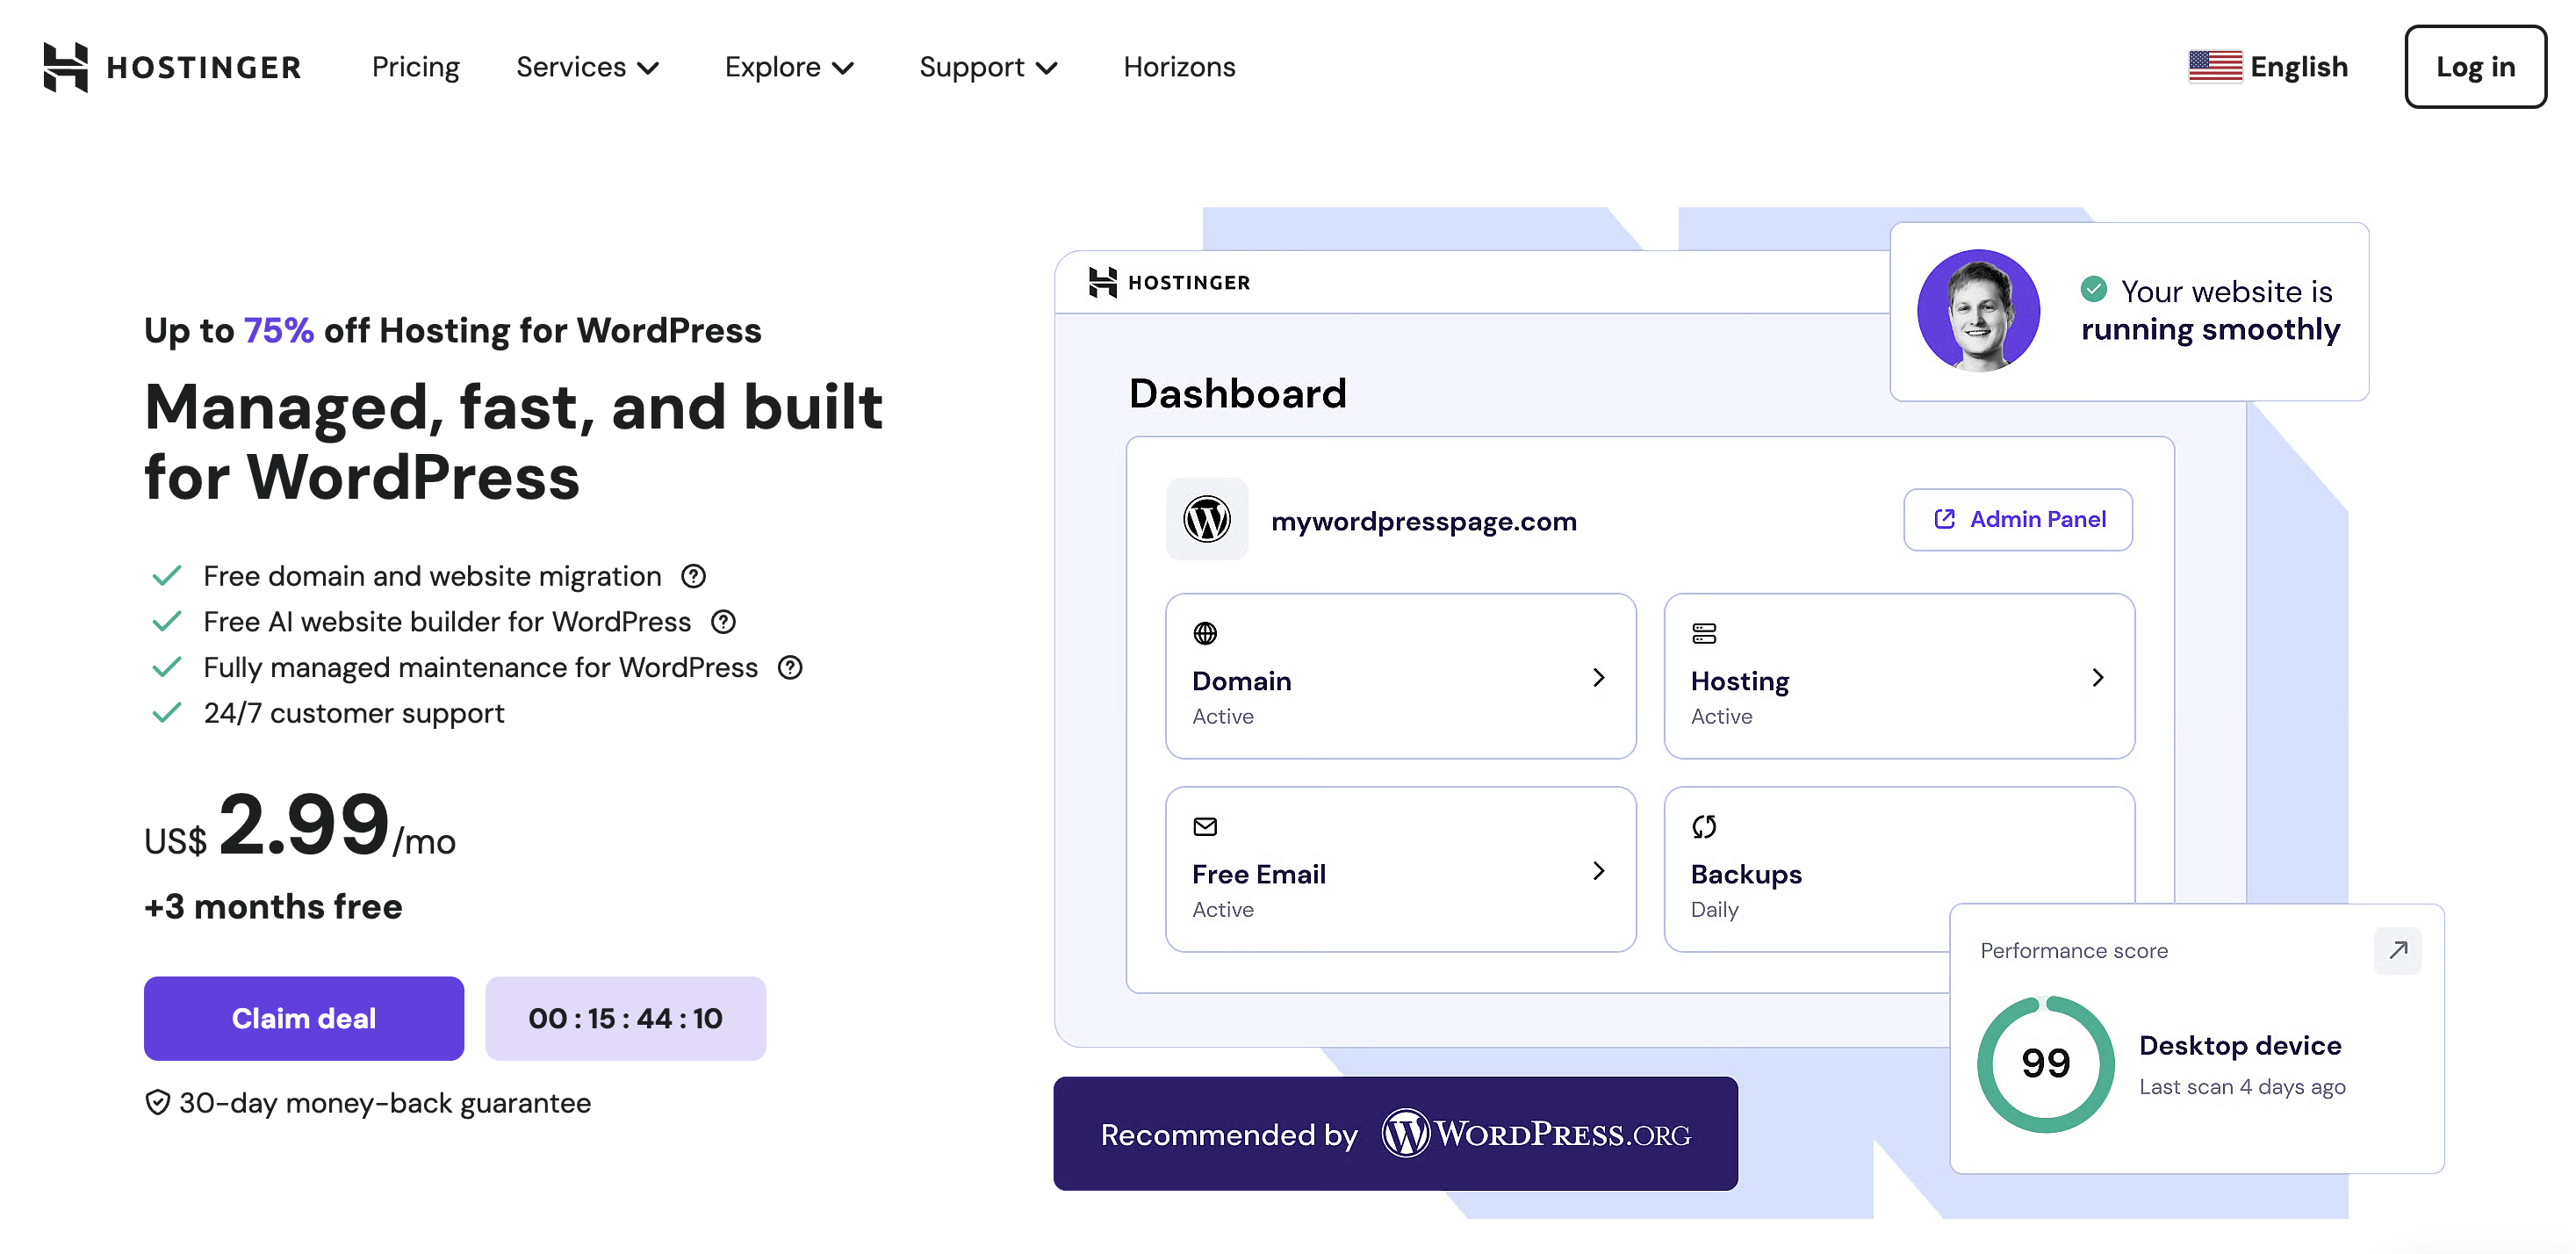
Hostinger, for one, is an excellent choice. It’s a well-known web hosting provider that’s user-friendly, reliable, and affordable. Plus, many of its annual plans include a free domain for the first year, which can cut out the need for a separate domain provider like in step one.
Sounds great? Here’s how to make a Hostinger account:
- Go to Hostinger’s website by clicking here.
- Choose the plan that fits your needs. Entry-level hosting often starts around $1.99 per month on long-term promotions, while higher-tier WordPress and cloud plans cost more and include extra resources and tools.
- Once you’ve selected a subscription plan, Hostinger will ask you to fill in your personal details and payment information.
- Finalize your purchase by hitting the Submit Secure Payment button.
Voila! You now have a Hostinger account and your own piece of the internet! Well, almost.
Step 3: Install WordPress and Register Your Domain
This is the part where all the real fun begins—it’s where you get started with WordPress.
Hostinger lets you install WordPress directly through your hosting dashboard. However, for hosting providers that don’t allow one-click installation, you’ll have to install WordPress manually.
Installation Through Hostinger
As mentioned before, Hostinger offers one-click WordPress installs.
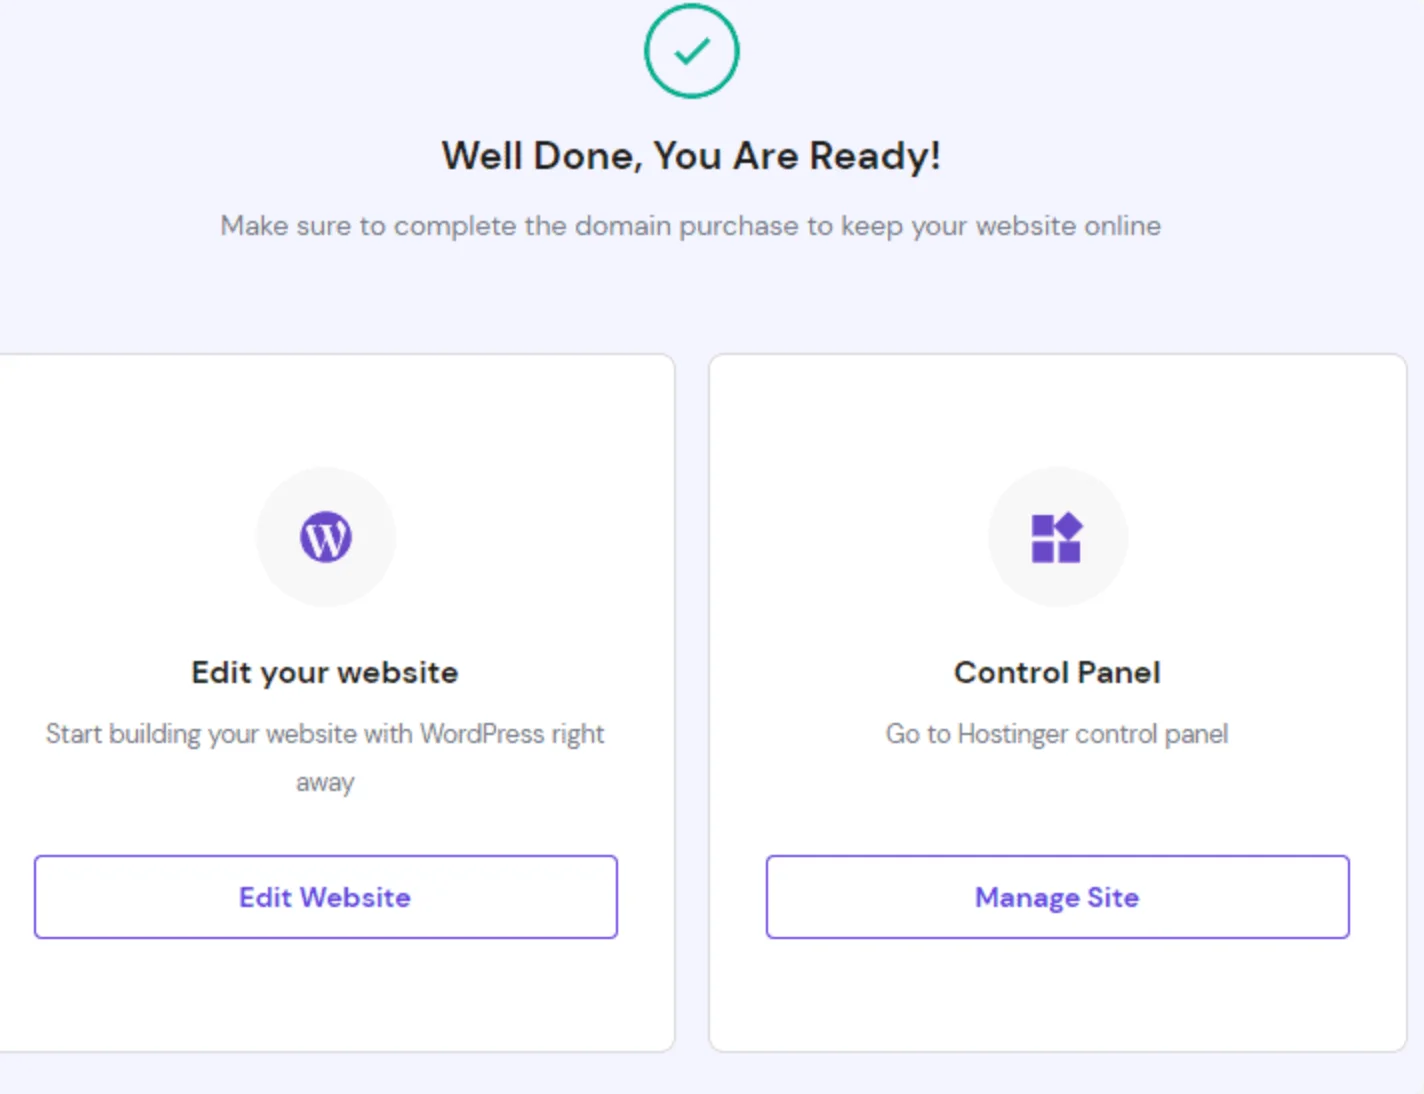
Once you finalize your Hostinger account, you’ll find your site isn’t live yet. It’s your job to set up and design your site.
To install WordPress, carry out the following steps:
- Sign in to your Hostinger dashboard and start setting up your website.
- Choose the option to create a new website and follow the setup prompts.
- When asked which CMS you’d like to install, choose WordPress.
- Enter the email address and strong password you want to use for your WordPress admin account, then complete the remaining setup details.
- If your plan includes a free domain, you can claim it during setup or connect a domain you already own.
- And that’s it! You’re officially a WordPress website owner.
Manual WordPress Installation
Manual installation, understandably, isn’t as simple as the above method.
You have to download WordPress to your computer first and then upload it to your hosting provider, which is more time-consuming and definitely not as fun.
You should try to select hosting providers that offer one-click installs. It’s just so much more straightforward.
Step 4: Sort Out Your Website Theme and Design
Hostinger plans include access to website-building tools and templates, and you can also choose a WordPress theme during setup or install one later from the WordPress theme directory or a third-party marketplace.
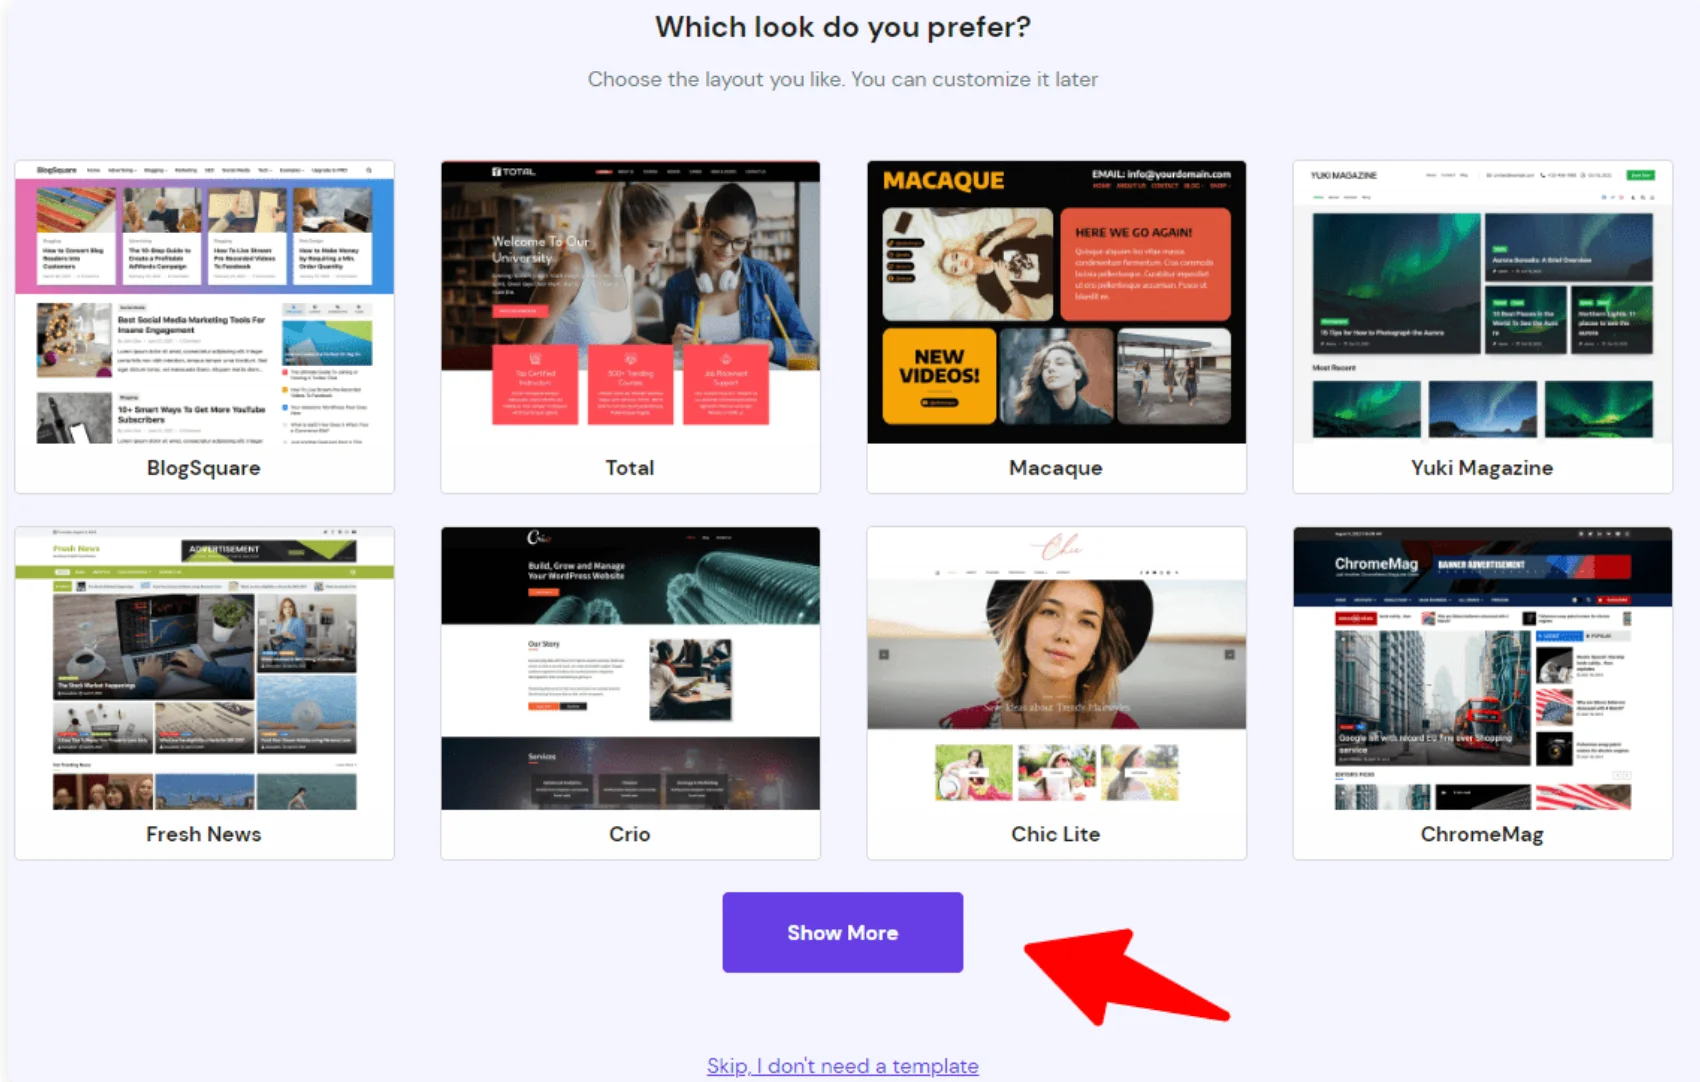
WordPress’s biggest USP is its customization feature. You can have a website tailored to your needs—especially if you’re comfortable making more advanced design tweaks.
It also supports a variety of interchangeable designs called themes. Themes let you shape your website’s look. Whether you want it to be professional, classy, quirky, or artsy, there’s something for everyone.
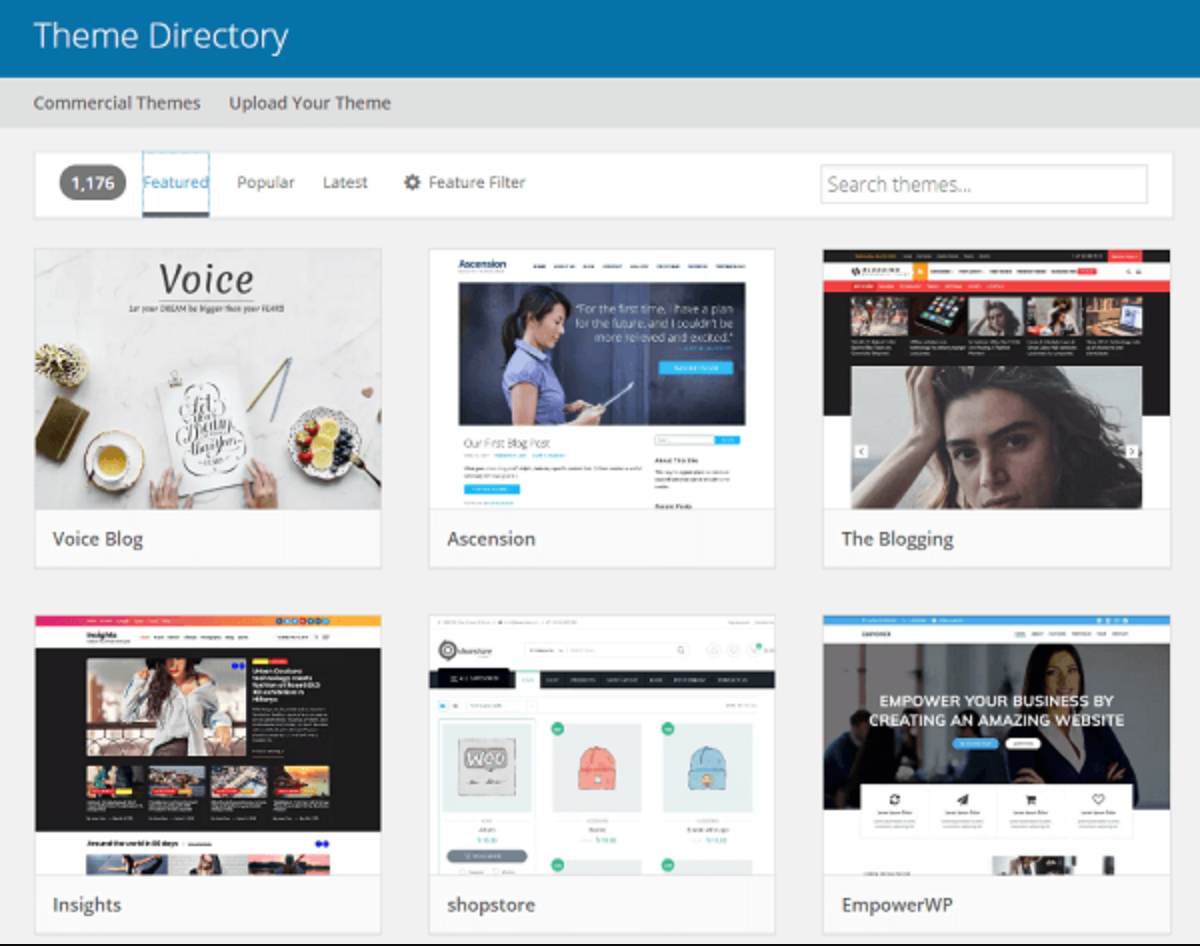
Here’s how you can install a free WordPress theme:
- Go to Appearance, followed by Themes. You’ll now see the theme dashboard.
- Click on the Add New button, and then browse themes under the different categories. You can also search for industry-specific themes by typing in the name in the search bar.
- Click on Install under the theme you want to download. You can also preview a few themes to explore your options.
- An Activate button will appear in place of the Install button. Click on it, and the theme will be yours.
You can also buy themes from trusted third-party sites like ThemeIsle and ThemeForest. Remember that it’s always best to look for simple and sophisticated options, as too many flashy extras can slow down your website.
Next up are plugins.
Installing plugins is optional, so you can always skip this part if you want.
There are tens of thousands of WordPress plugins available. Precisely why choosing the right plugins for your website can get very overwhelming very fast.
The key is to start small and choose only the plugins that truly serve your goals. Prioritize quality over quantity, and always check reviews and update frequency before installing.
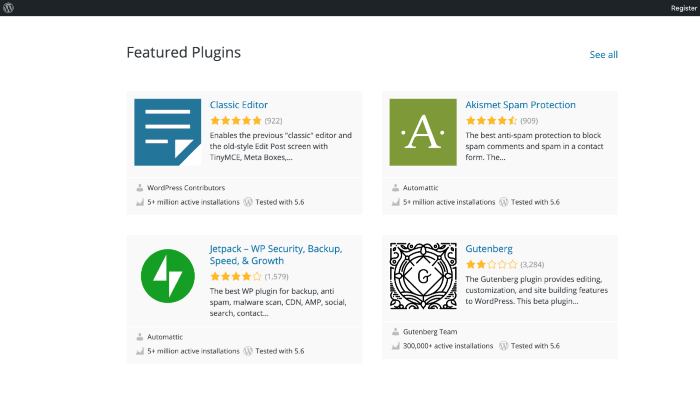
Remember, the idea here is to improve your website, not bog it down. Installing too many plugins can slow your site, create conflicts, and make maintenance more annoying than it needs to be.
The process of downloading plugins is similar to themes—it’s just that instead of clicking on Themes under Appearance, you’ll go to Plugins and then click Add New Plugin.
Step 5: Add Relevant Content to Your Website
With your WordPress website all set up, it’s now time to add content to your website.
When we talk about content, we mean pages and posts—both of which you’ll create within WordPress itself.
Pages are static, which means they won’t change unless you edit them. Think of the ‘About Me’ or ‘Contact Us’ pages on websites. They are the more permanent pages of your website since you don’t have to update them continuously.
To add a new page, go to Pages on your admin dashboard and then select Add New.
Posts are chronological entries commonly added to your Blog section and sometimes displayed on the homepage, depending on your setup. To add a new post, click on Posts on the dashboard, followed by Add New.

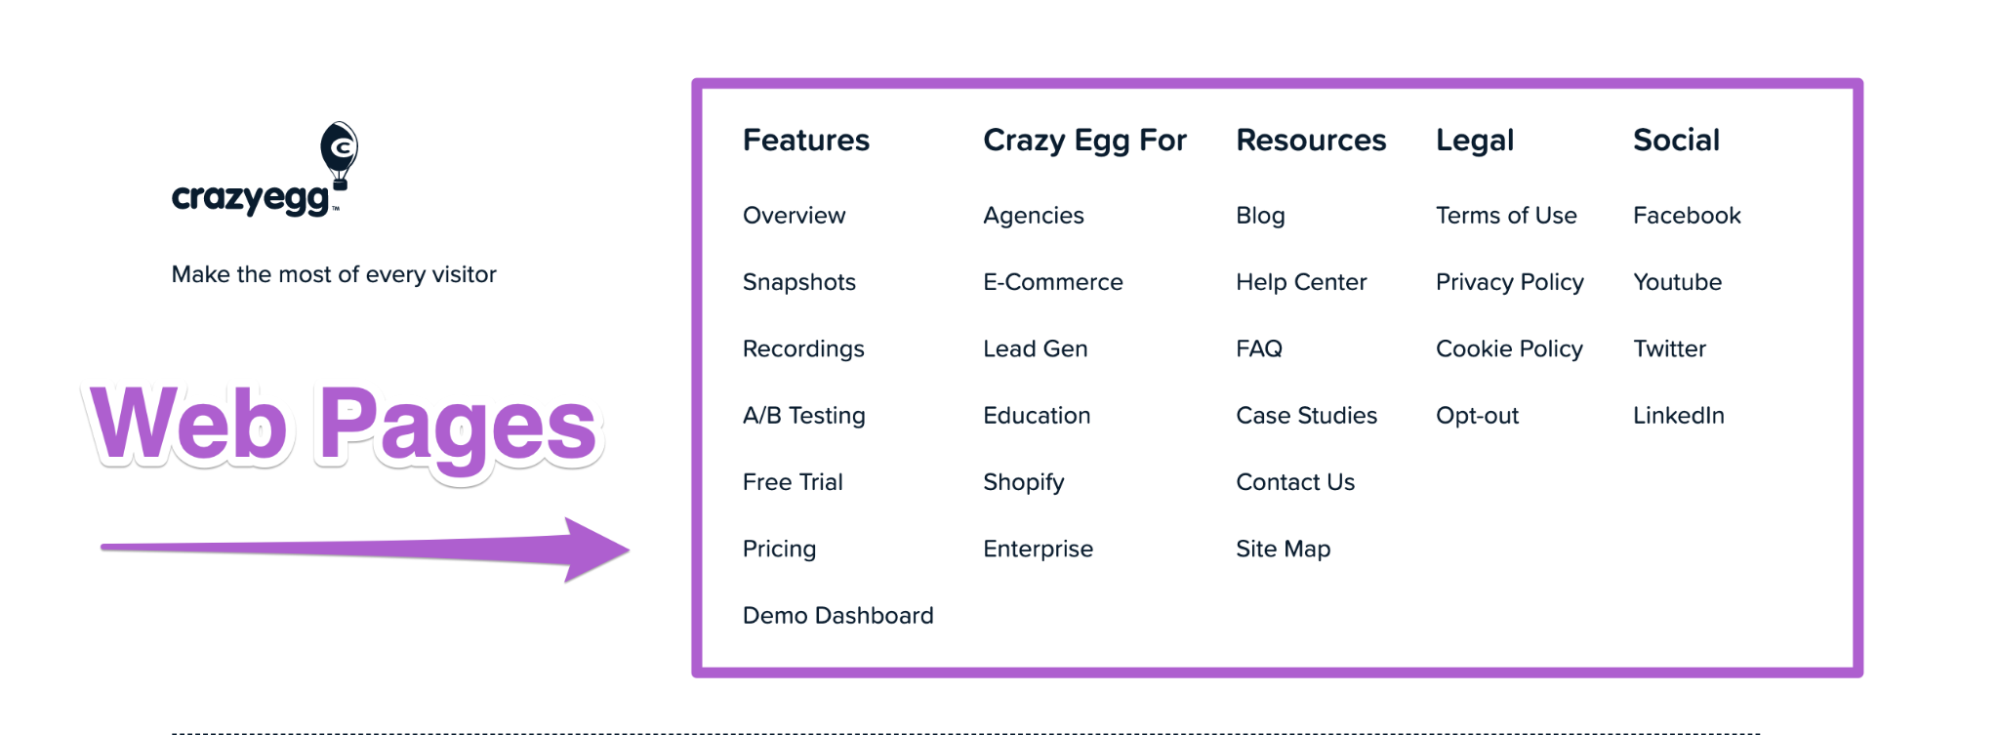
You have to populate your web pages and posts with your own content before publishing them on your website. Here’s a more condensed list of the most common pages that most websites have:
- Homepage
- Contact page
- About page
- Blog
- Product or services page
You can always add more pages later. The above list is just to get you started.
Crazy Egg Tip: Always review your draft posts and pages before publishing your content. This will help you catch errors and make last-minute improvements.
Next Steps
At this point, you should have a well-functioning WordPress website with your pages and posts. Congratulations!
Your next steps should be focused on enhancing your website to boost conversions.
Start by improving the navigability of your website, where you focus on your menus and widgets or your site editor settings, depending on your theme. Try to think from your visitors’ point of view when designing your website. This will help you in the long run.
You can start an online store or launch a blog or something else—the choice is yours. Just keep improving your website, and you’ll put yourself in a much better position to see great results.