A good website is critical whether you’re a freelancer, consultant, or small business. It will help you increase brand awareness, build credibility, increase sales, and improve the customer experience. However, building a website from scratch with no web design experience can be daunting.
Fortunately, Wix provides an intuitive and easy-to-use website builder. It’s designed for beginners but flexible enough to grow with you, so you can create and maintain your website without hiring a designer or developer. Wix supports multiple website types—including an online store, blog, business website, portfolio, bookings site, restaurant menu, events hub, and more—so you can start simple and expand features over time.
While Wix is easy to use, you’ll get further with a clear plan. That’s why we created this how-to post. We’ll take you through all the steps required to build a website with Wix, plus a few pro tips to help with design, SEO, and publishing.
More Top Website Builders
You really can’t go wrong with Wix. There’s more we like each time we review it. That said, there are a ton of other great website builders out there beyond our top three favorites. Our Daily Eggspert does an excellent job covering all these nuances and reviewing even more top website builders in the Best Website Builders post.
Without further ado, here’s how to build a Wix website, step-by-step.
Step 1 – Get Started With Wix
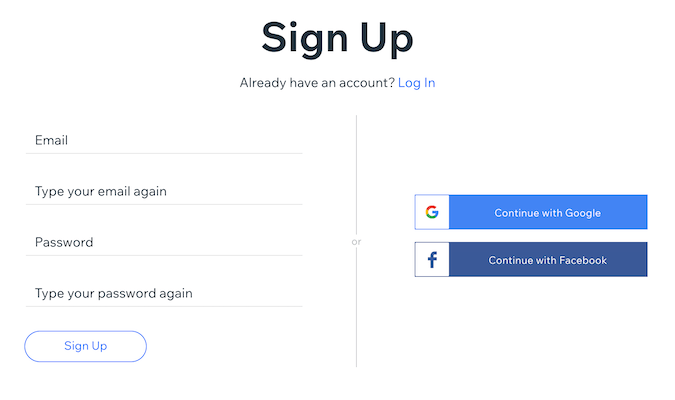
Start by heading to the Wix website and signing up for an account. You only need an email address and password to start (you can also continue with Google, Apple, or Facebook). Then click Get Started to register your account and access the Wix Dashboard.

Next, fill in the required information and click Sign Up to create your Wix account. Your account includes everything you need to make your website, including a dashboard and the Wix editor. This is the only account you need to create and manage your Wix website.
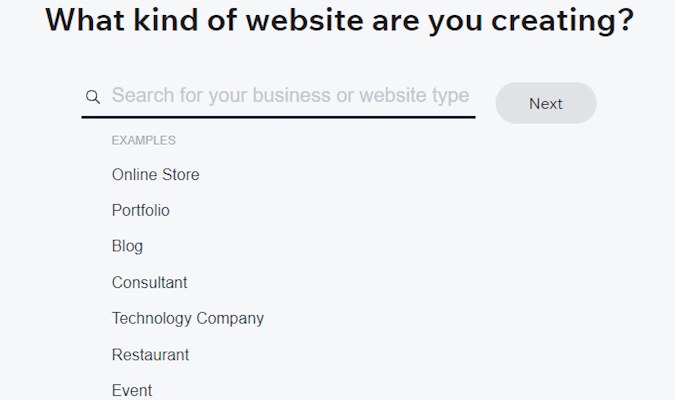
Next, Wix will ask you questions to determine the best way to create your website, starting with the type of site you want to build. This section is important since the best layout varies depending on the kind of website. Therefore, try to answer these questions as accurately as you can—your answers help pre-configure navigation, pages, and features automatically.
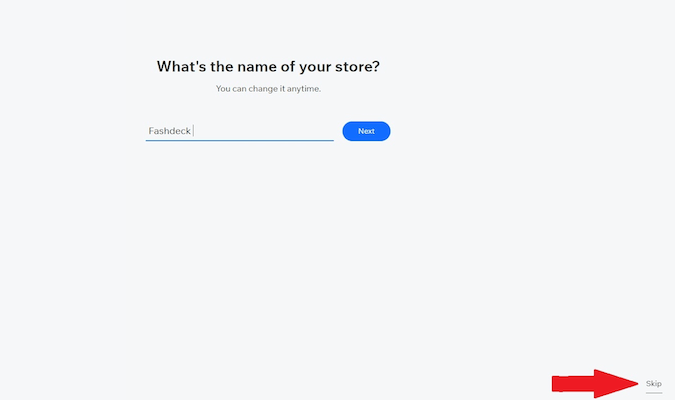
Now, enter your website name. Don’t worry if you don’t have a name yet—you can use a placeholder and change it later. You can also skip this step by clicking Skip in the bottom-right corner of your screen.
However, providing your website name helps Wix populate your site with information (like headers, footers, and default text). As a result, you’ll have fewer details to adjust when editing your site.
Next, Wix will ask you to select the features and functionality you want to add to your website. Options include Forms, Bookings, Blogs, Events, Pricing Plans, Restaurants, and more. Wix also suggests relevant features based on the type of website you selected. Tick the box corresponding to the functionality you want to add to your site.
Again, this step is optional, and you can skip it if you’re not sure what you’ll need yet. Don’t stress about choosing the “correct” features—you can add, remove, or change them later from your dashboard.
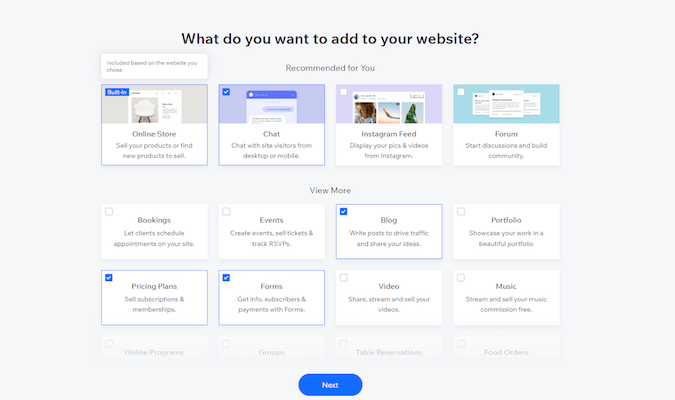
Completing this section helps you visualize how your finished website will look and work. You can still change features at any time, so think of this as a first pass.
Step 2 – Choose How to Build Your Website
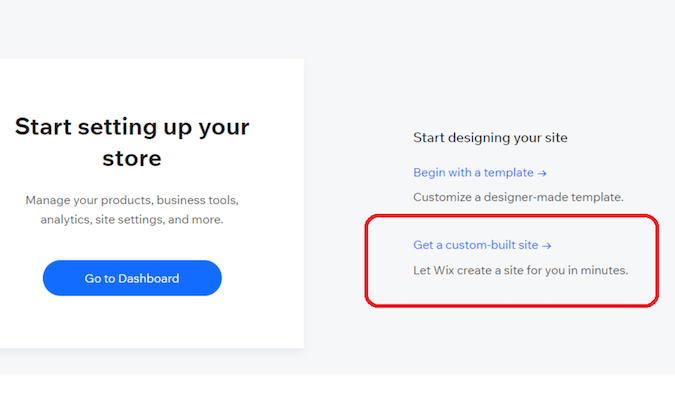
Wix now offers two main ways to build a site for most users, plus Wix Studio (the successor to Editor X) for agencies and advanced projects. You can either use the classic Wix Editor and start from one of 900+ templates, or you can let Wix’s AI website builder generate the site for you based on a short conversation about your business.
The Wix Editor offers the most design freedom. However, it’s easy to drift from best practices without guidance. If you’re building your first site or want a faster start, consider the AI option.
Wix’s AI Website Builder (the evolution of Wix ADI) now works through a guided, chat-style flow: it collects information about your business and goals, then generates a best-practice layout, text, media, and apps that you can refine. For most beginners, this is the quickest way to get a polished, on-brand result.
It’s faster and more manageable than starting from a blank template, and you can still customize design elements afterward. To use it, choose the option to create a site with AI (wording may vary by account and region).
Step 3 – Follow the AI Prompts
Creating your website with the AI builder is straightforward. Follow the prompts on each page—you can skip any page if you don’t have the required information.
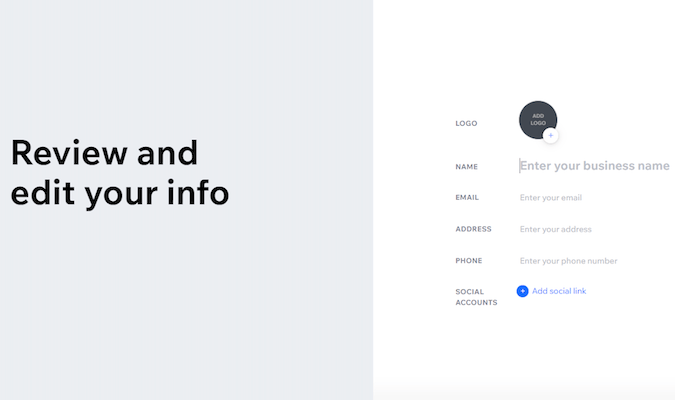
The first prompt is to review and edit basic site information. This includes your company name, logo, address, email, phone number, and social media handles. Try not to skip this step; it helps the builder generate relevant copy and layouts.
Wix uses this information to customize key elements like contact pages, headers, footers, and navigation menus. Filling it in early saves you time later.
It’s also worth mentioning that Wix has a logo maker. The logo maker is just as intuitive as the website builder: answer a few questions about your brand and style, then choose and customize a generated logo.
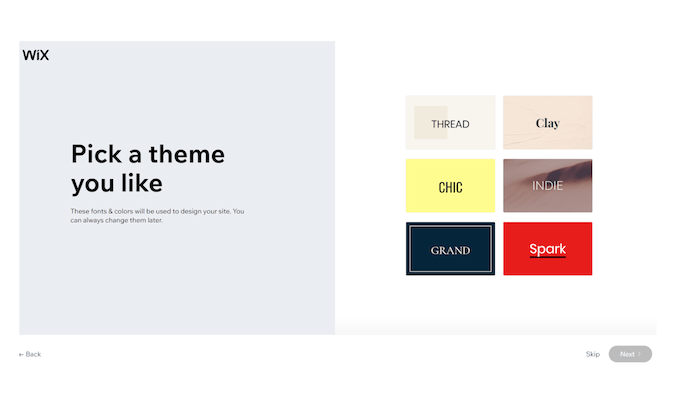
Now choose a theme. The builder will suggest a small set of options so you’re not overwhelmed. You can always change your theme later, so pick the one that best matches your brand today.
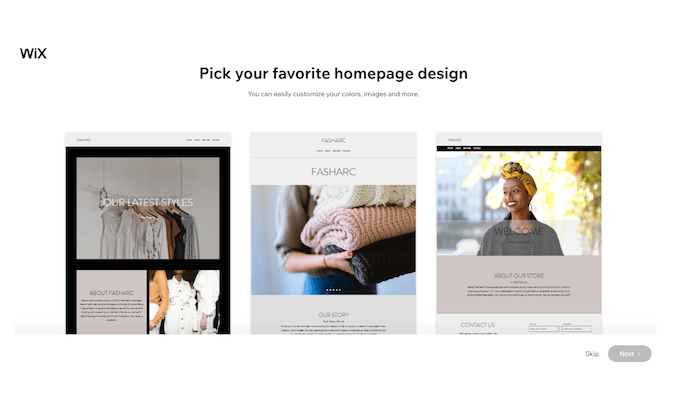
Next, Wix will recommend a homepage design based on your site type. These are starting points—you can change layouts, sections, and media afterward. Wix offers hundreds of homepage designs if you want to explore more later.
Choose your favorite one and click Next.
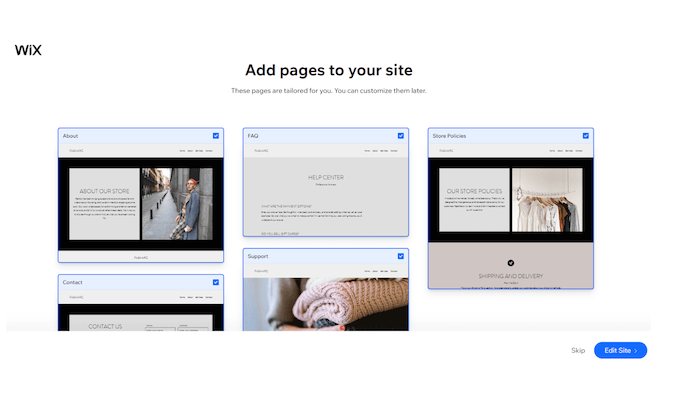
The builder will also suggest other pages to add—such as About, FAQ, Store Policies, Contact, and Support—based on your site type. Tick the boxes for the pages you want.
Finally, click Edit Site to start personalizing your website.
Step 4 – Edit Your Website
We’re now at the heart of building a Wix website. Your customization options are available in the editor interface. Go through them one by one, adding and editing the elements you want across your pages.
For example, clicking Elements lets you add text, images, buttons, social icons, galleries, forms, and more. There are extensive customization options so your site can match your brand exactly.
You’ll also be using an intuitive drag-and-drop editor. Click any element and drag it where you want it to appear.
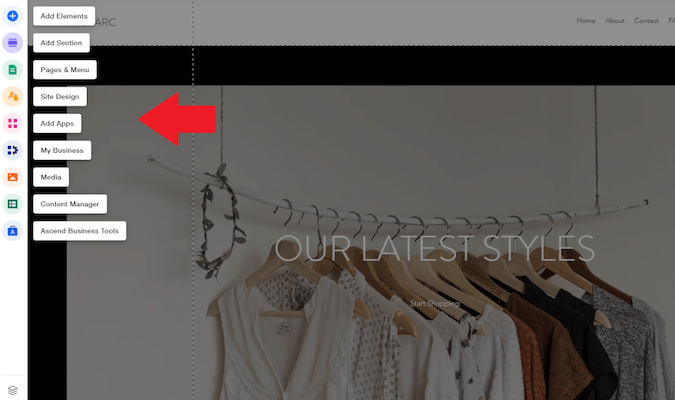
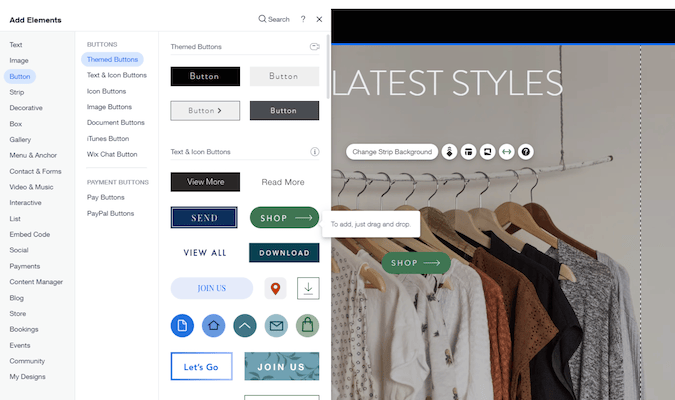
Say you want to add a shopping button that directs visitors to your product catalog. Hover over Elements, then scroll to Buttons to view different styles and options.
Choose the style you like and drag and drop it into position. You can then link it to a page, product, or section of the site.
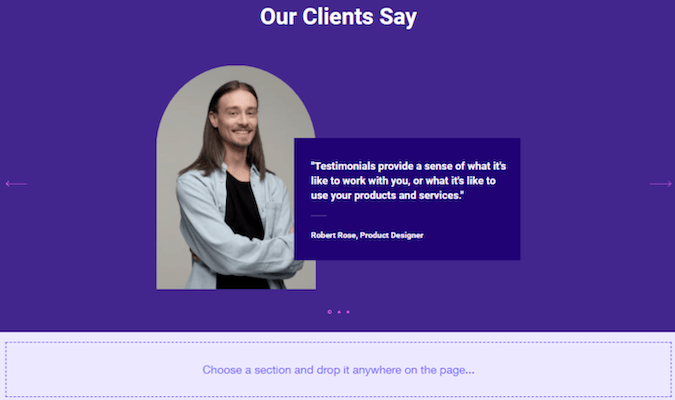
You can add new sections like testimonials, promotions, or bookings to any page. Still, keep your homepage focused and scannable—highlight your main value prop and primary call to action, then link to deeper pages for details.
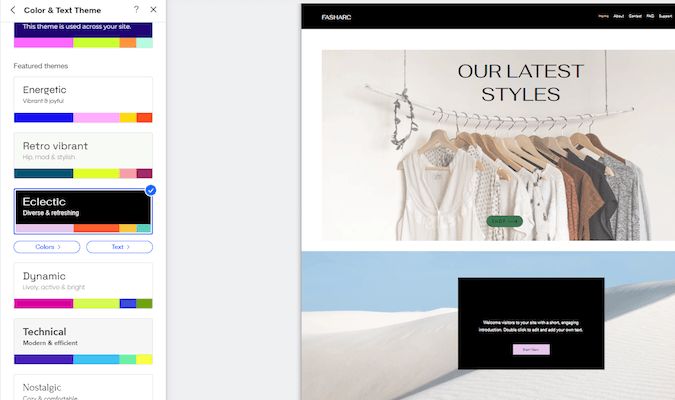
You can also change the site color and text theme to match your brand. Adjust text and background colors to improve readability and accessibility (sufficient contrast helps with both user experience and SEO signals like engagement).
For example, creating contrast between the text and background color ensures your site stays on-brand while remaining readable. Wix also provides multiple fonts and preset theme combinations to keep styles consistent across pages.
You can also add apps, payment options, and media, and tweak virtually any aspect of your website. Don’t forget to check the Mobile view and make mobile-specific adjustments so buttons, fonts, and layouts are easy to use on smaller screens.
Another logical way to edit your site is to choose one page to start with. Click Page in the menu, then select the page you want to edit.
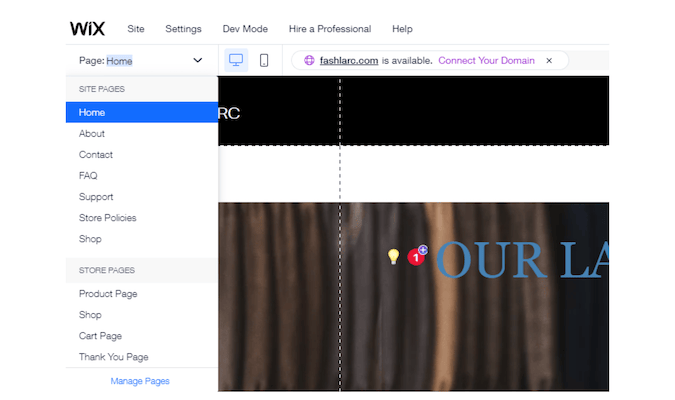
Now, click on the part of the page you want to change and use the settings icon to view customization options. You can edit colors, positions, sizes, spacing, and links.
The best part is that changes happen in real-time, so you can immediately see their impact. You can also undo changes if you’re unhappy with the result.
For example, click the Header and then select Settings.
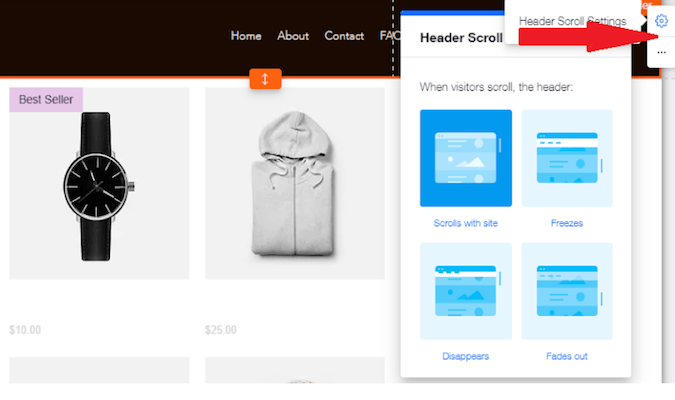
You’ll see multiple design options, including:
- Changing your header design
- Adding, editing, or reordering menu items
- Making the header scroll with the site, disappear, freeze, or fade out when visitors scroll
Use these customization options to call attention to key elements. For example, make your logo and header slightly larger than surrounding elements, or tighten spacing so your brand is prominent without overwhelming the page.
Alternatively, set default element sizes to keep visuals uniform. Try different approaches and preview on desktop and mobile to see what works best.
Similarly, click anywhere on the background to change the background image.

You can choose your background image from the Wix image library, upload your own, or import from stock photo sites like Unsplash or Shutterstock. You also get plenty of creative freedom with background images.
For example, you can upload a video background for a bold visual or add hover effects to make your site feel interactive. Use media thoughtfully to keep performance snappy and pages accessible.
Repeat the process for all your pages, editing sections to fit your vision and your audience’s needs.
Step 5 – Edit Your Website Content
Once you’re happy with your layout, populate your site with content. Wix can even suggest on-page text for key sections like home, services, and contact. You can generate welcome text and then edit it to fit your voice and brand.
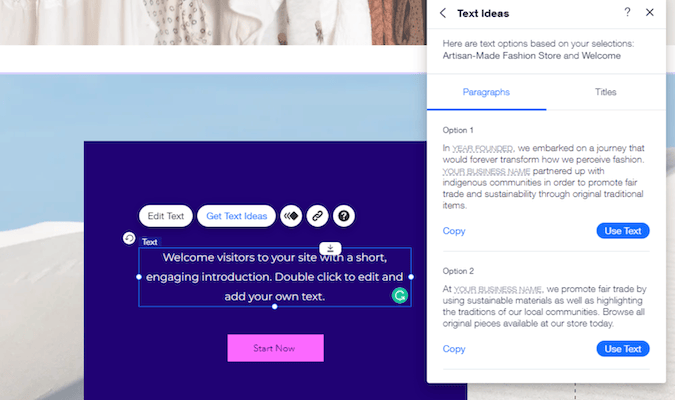
You can generate content for just about any part of your website, including About, Mission, Store Policies, and FAQs. After inserting text, tighten headlines, add clear calls to action, and include internal links to important pages (like Contact or Shop) to help visitors and search engines understand your site structure.
Wix offers endless customization options. If you get stuck or confused, click the Help button on any element to see step-by-step guidance.
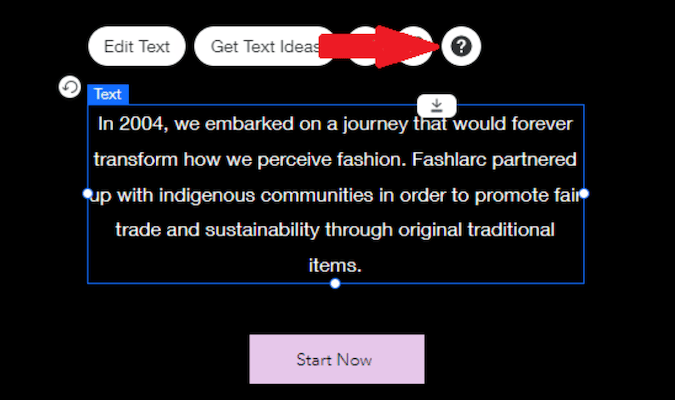
You’ll be redirected to a relevant article outlining how to customize that specific element.
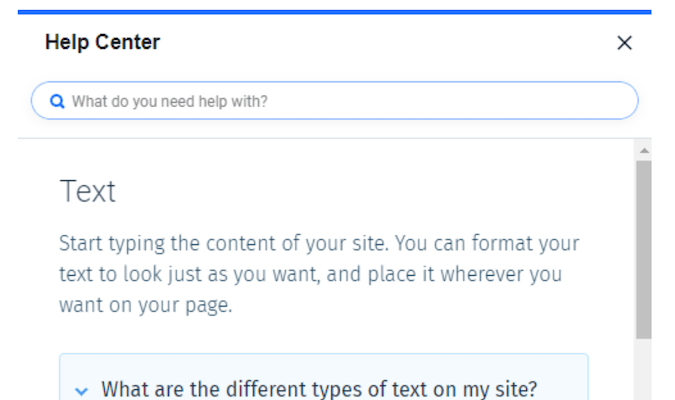
You can also access the help center from your main menu. The help center includes video walk-throughs of Wix features, plus tips on SEO, payments, and domains—so there’s plenty of support if you’re overwhelmed.
Step 6 – Publish Your Site
First, preview your site to ensure you’re happy with both desktop and mobile views. Next, click Publish on the top right corner of your screen.
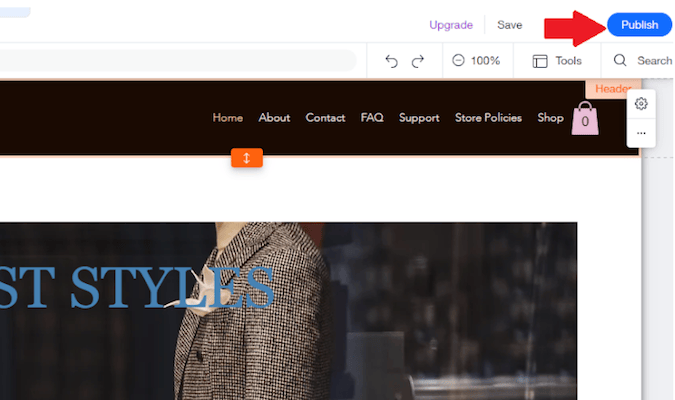
You’ll see a confirmation that your site is live and a link to your website. After publishing, connect your custom domain (if you have one) and review basic SEO settings like page titles, meta descriptions, and social share images so your site looks great in search results and on social. SSL security is automatically enabled for all Wix sites, so you don’t need to turn it on manually.
Step 7 – Consider Upgrading to a Paid Plan
Wix’s free plan is sufficient for a personal website or hobby project. However, it isn’t ideal for a business. Free sites display Wix ads and use a Wix subdomain, which can look less professional.
You also cannot use a custom domain or accept online payments on the free plan. Upgrading removes Wix ads, lets you connect a custom domain, and unlocks business tools. Current U.S. plan tiers include a “Light” website plan at $17/month billed annually, a “Core” plan at $29/month billed annually, a “Business” plan at $39/month billed annually, and a “Business Elite” plan at $159/month billed annually. Prices can vary by region and promotion, so check your account for the latest rates and choose the plan that matches your needs.
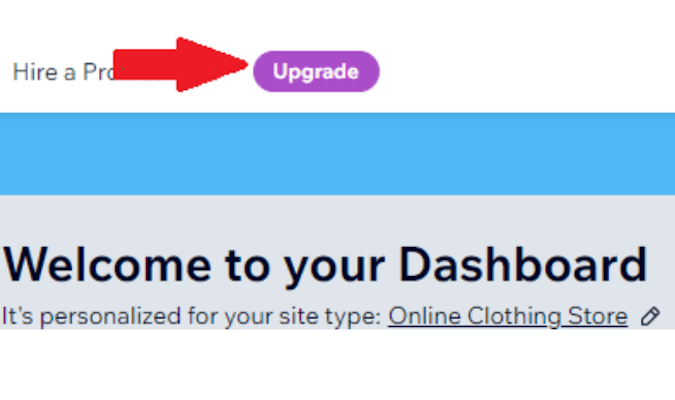
If you plan to sell goods or services online, choose an eCommerce plan (Core or higher) so you can accept payments. You can upgrade anytime from your Wix account as your site grows.