If you’re looking for step-by-step instructions on editing the footer in your WordPress website, this article is for you.
What Is A WordPress Footer?
A footer is an area that appears at the bottom of a website after the main body content. Just like a site’s header, the footer also usually appears on every page of a site.
Here’s the footer of the CrazyEgg blog.
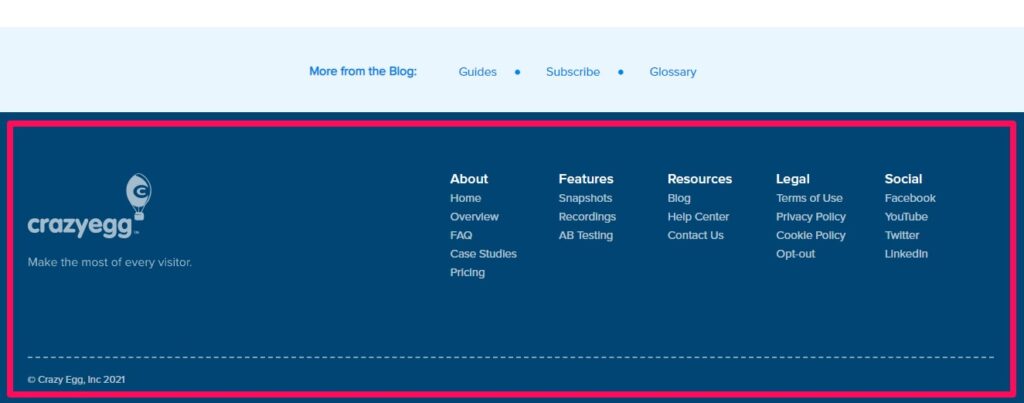
Most sites use their footer area to house important links like disclaimers, a privacy policy, and other key pages of your site.
In WordPress, the footer exists as a separate file named footer.php, which loads with every page of your site. So any changes that you make to footer.php will reflect across your site.
5 Ways To Edit the Footer in WordPress
1. Edit the Footer With WordPress Theme Customizer
The WordPress Theme Customizer is an option in your WordPress dashboard that allows you to customize your site’s appearance, edit its header and footer, change its titles, and other universal settings.
This is the most secure and user-friendly way to edit the footer in WordPress.
Note: We’re using a popular WordPress theme named Astra, which has additional customization options. But you’ll find the footer editing options in every theme.
First, sign in to your WordPress dashboard.
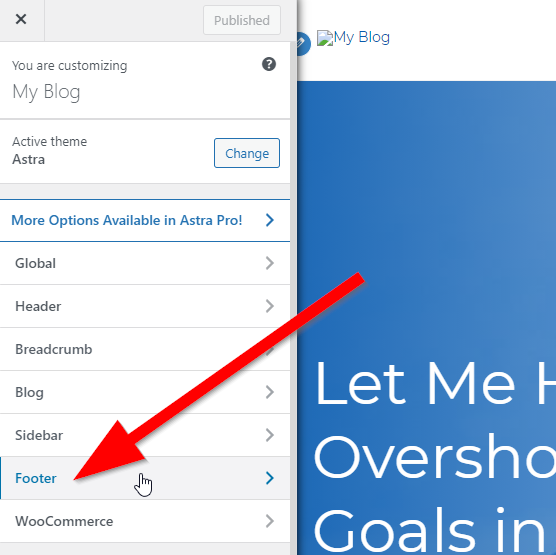
Go to Appearance → Customize.
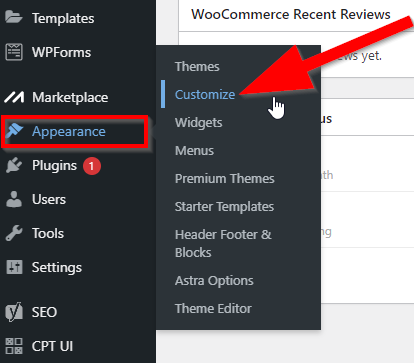
In the website customization menu, click on Footer.
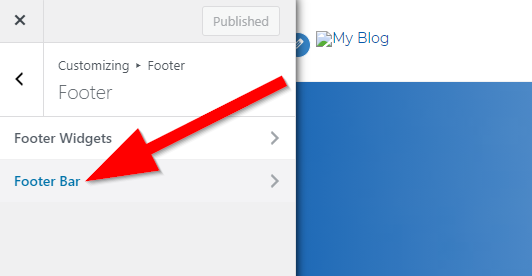
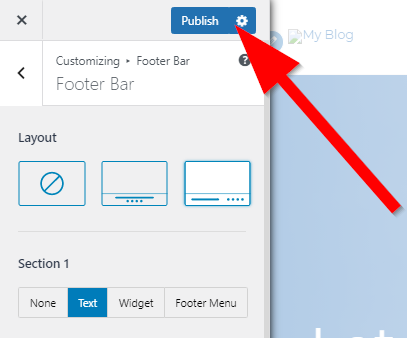
You can edit the footer by using widgets to add new sections or by editing the content and style of the footer bar. Click on Footer Bar to continue.
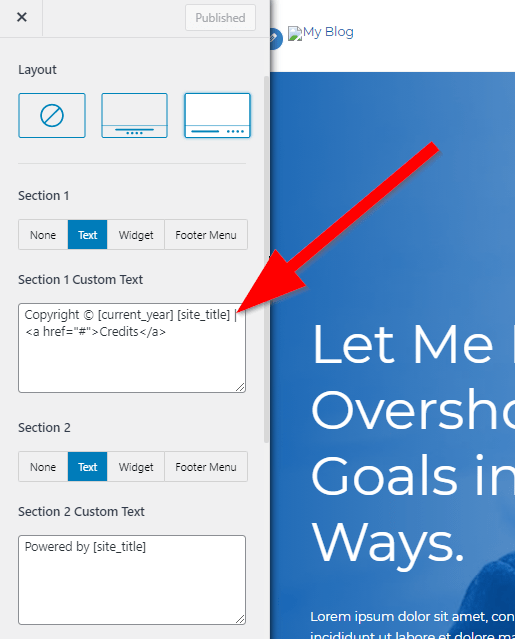
In this section, you can edit the footer layout and text. Use the text box to change the default text of your site’s theme.
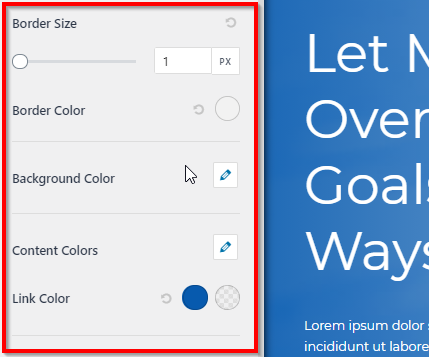
Scroll down this page to get different styling options for your site’s footer.
When you make the desired changes, click Publish to save your footer settings.
You’ve successfully edited your WordPress site’s footer with the WordPress Theme Customizer.
You can always come back to this section if you want to add or remove something from your site’s footer in the future.
2. Add Widgets To Your WordPress Footer
Widgets are small content blocks that you can drag & drop in different sections of your site to insert text, videos, images, HTML code, etc.
Many WordPress themes give you the option to edit the footer with widgets.
Log in to your WordPress site’s dashboard.
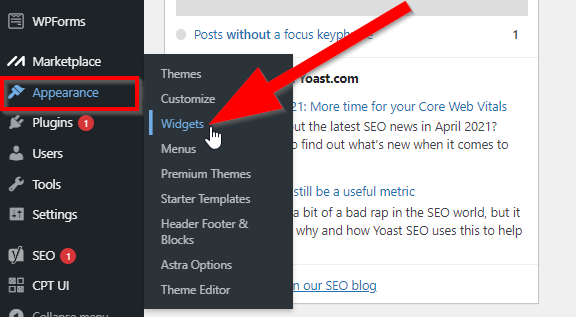
Go to Appearance → Widgets.
On this page, you’ll see multiple footer sections. These are the different blocks within your site’s footer that you can edit using widgets. Click on Footer Widget Area 1 to open it.

On the left side of the Widgets page, you can see different widgets that you can drag and drop to the different footer bar sections. Click and drag the Custom HTML widget to Footer Bar Section 1.
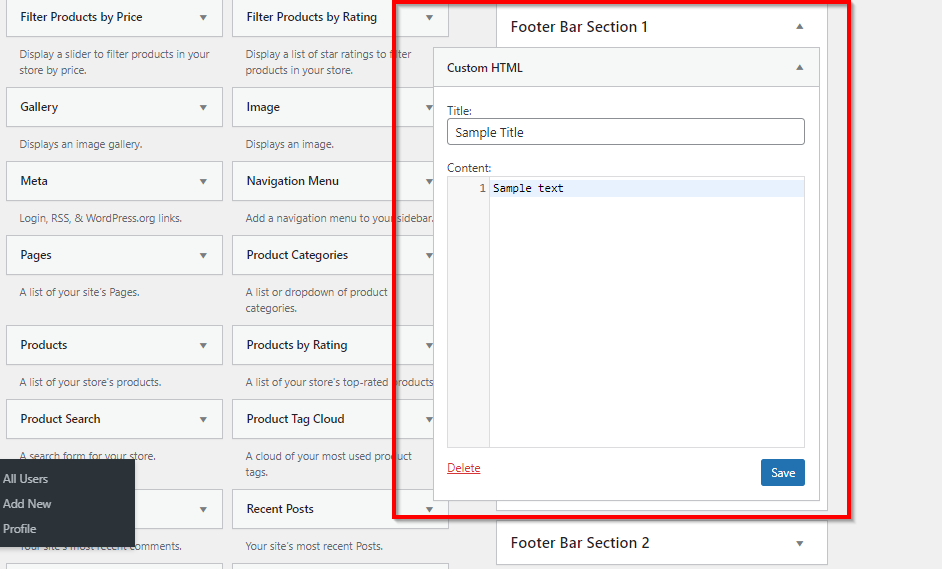
You can copy any script or code to this footer widget. Once you’re done, click Save.
The text widget is also quite popular and comes with the standard WordPress editor and full formatting options, including adding media. Drag it to Footer Bar Section 2.
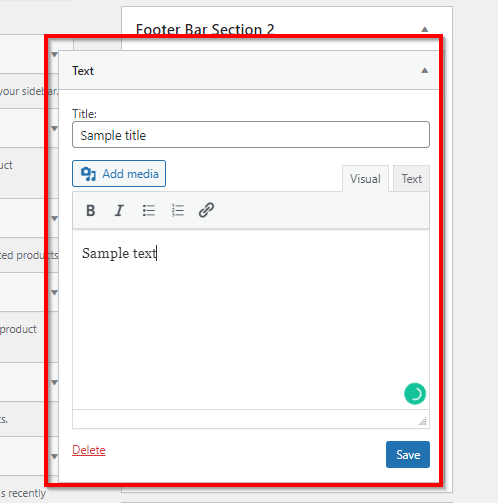
After entering your text, click Save to publish the widget in your footer.
As you can see, editing the footer in WordPress using widgets is even easier than the previous method.
3. Add a Menu to WordPress Footer
You can edit the footer in WordPress by adding a menu to it. Whether or not you can edit the footer through a WordPress menu depends on the theme you’re using. Some will allow you to add a menu to the primary navigation bar and the footer, while others will only let you do one or the other. And some won’t have menus in use at all.
Here’s how it works if you can add menus to your footer.
Sign in to your WordPress site’s dashboard.
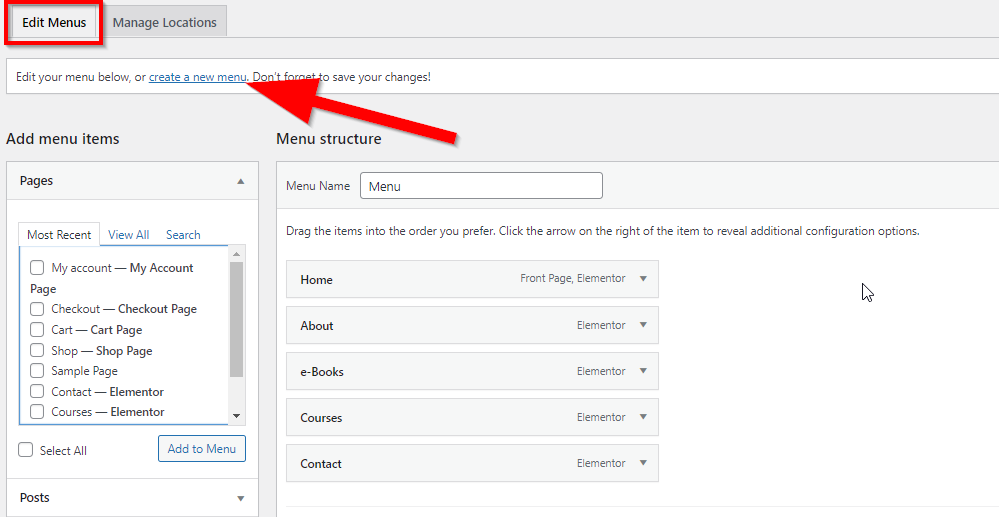
Go to Appearance → Menus.

Click on create a new menu.
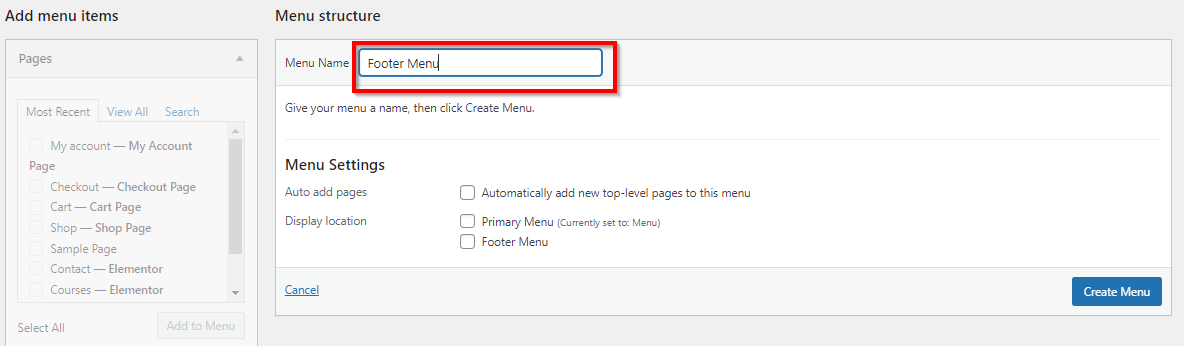
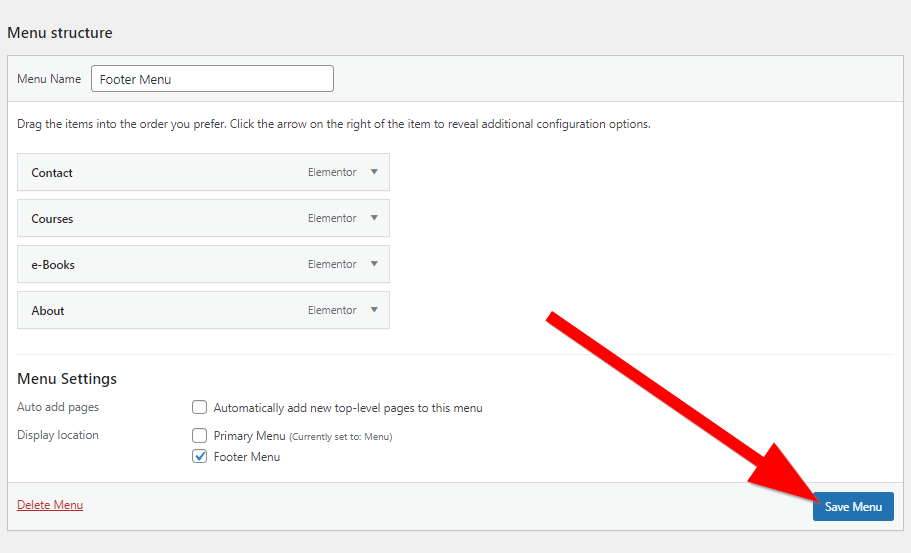
Give your footer menu a unique name that’s easily identifiable.
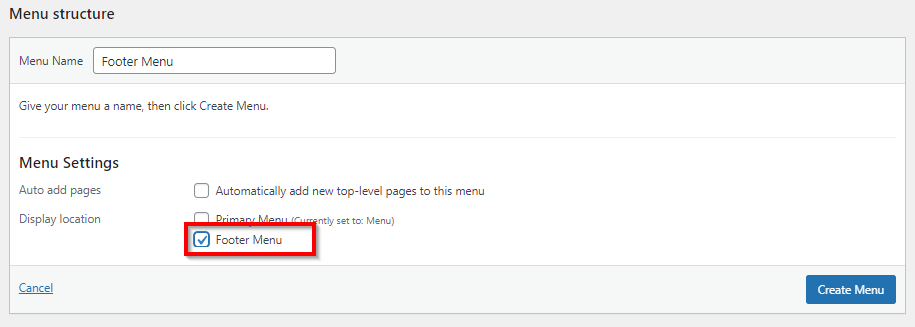
In Menu Settings under Display Location, select the checkbox next to Footer Menu. If “Footer Menu” isn’t under Display Location, your theme doesn’t allow you to add menus to your footer.
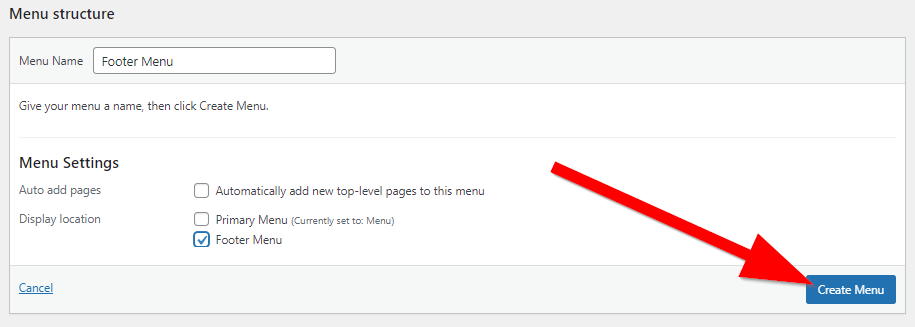
Click Create Menu to finish the basic setup of your menu and move to the next step.
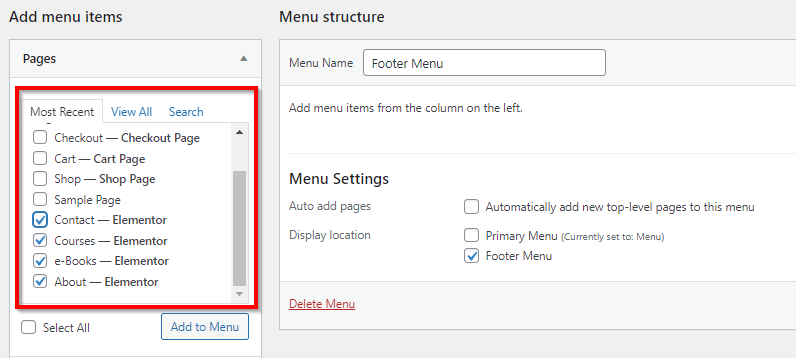
Now, you need to choose the links that will appear in your menu. Select all the relevant pages from Add menu items.
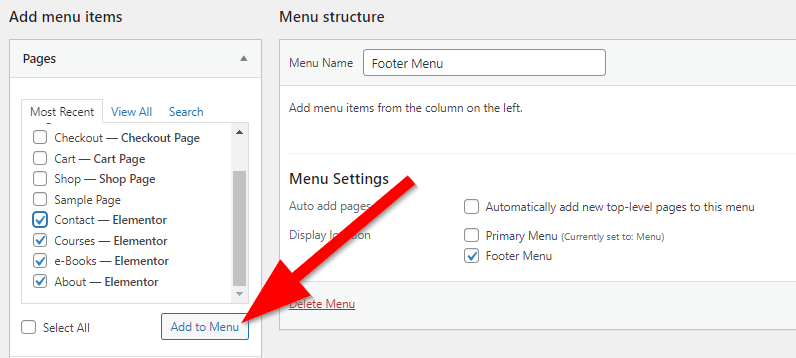
Click Add to Menu to move these pages to your newly created menu.
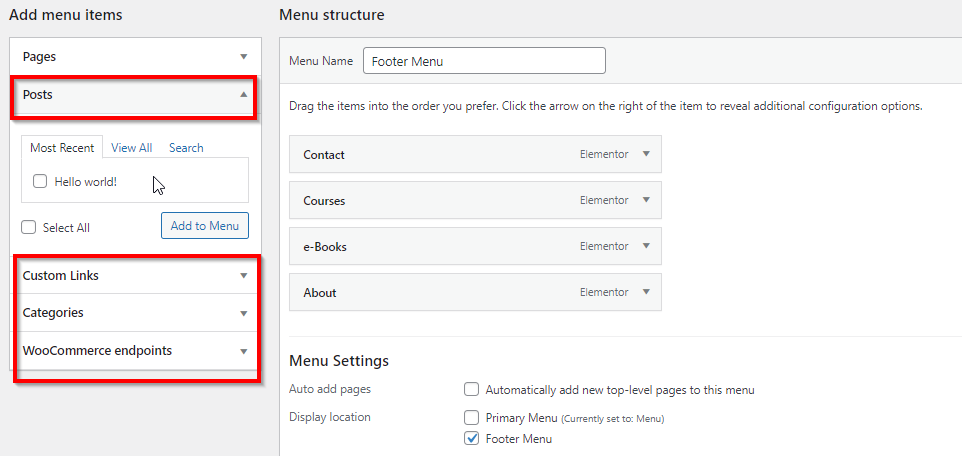
You can also add any posts, custom links, and categories to your menu from the “add menu items” section.
Once you add all the pages to your menu, you can drag them into any order you like.
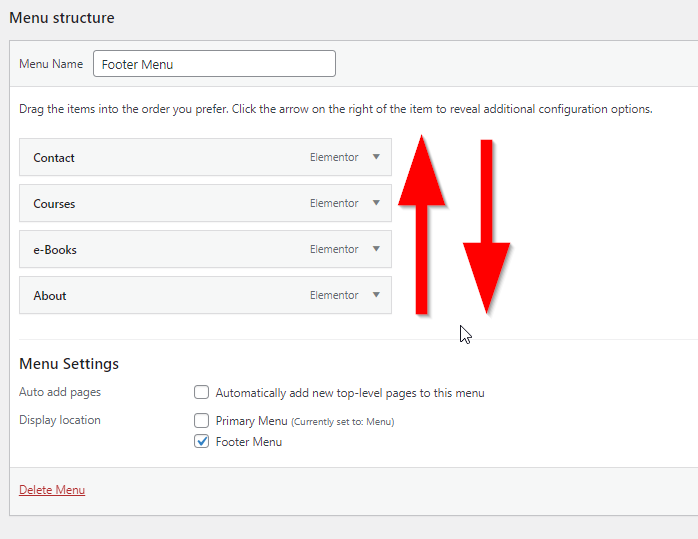
Click Save Menu to publish your menu, and it will be on display in your site’s footer.
That was the process for creating a new menu and adding it to your WordPress site’s footer.
If you want to add an existing menu to your footer, follow these steps. Remember, you can only add menus to your footer if your theme allows it.
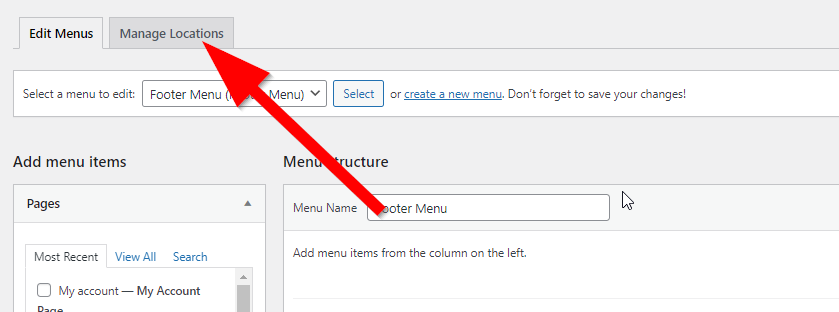
Click on Manage Location on the Menus page.
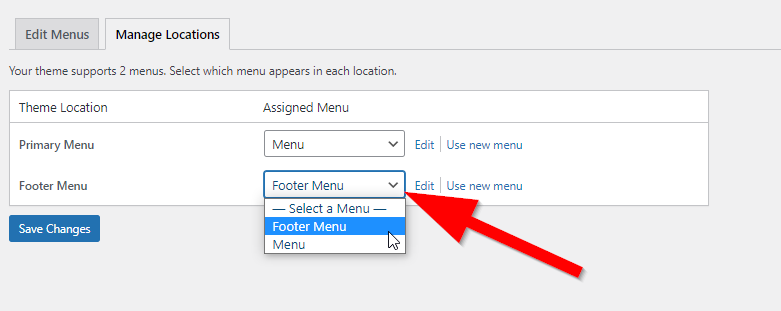
Click on the dropdown next to Footer Menu and choose an existing menu from the list. If you don’t see “Footer Menu,” your theme doesn’t allow you to add menus to the footer.
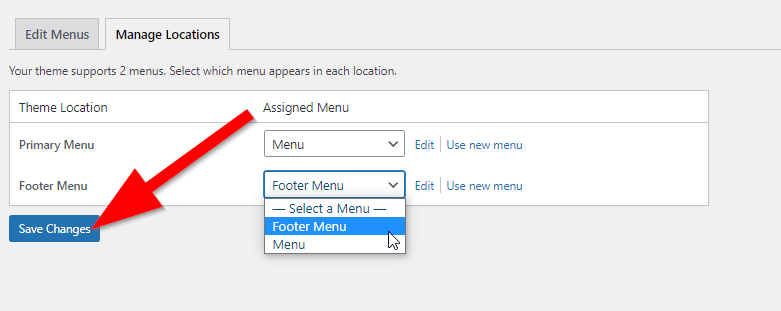
Click Save Changes to publish the menu in your site’s footer.
4. Add An HTML Code Or Script To The Footer
You can edit the footer in WordPress by placing different scripts or any kind of code in it.
Here’s the process you need to follow.
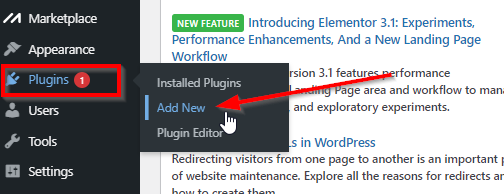
Log in to your WordPress dashboard.
Go to Plugins → Add New
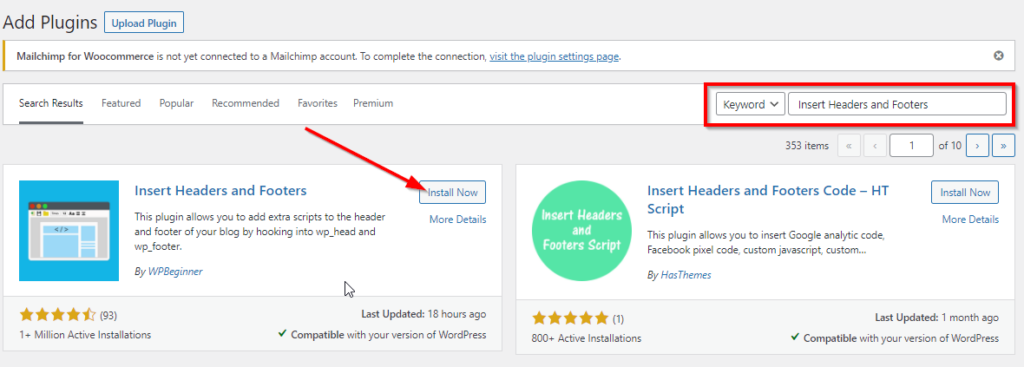
Search for the plugin “Insert Headers and Footers” in the search bar.
Locate the Insert Headers and Footers plugin and click Install.
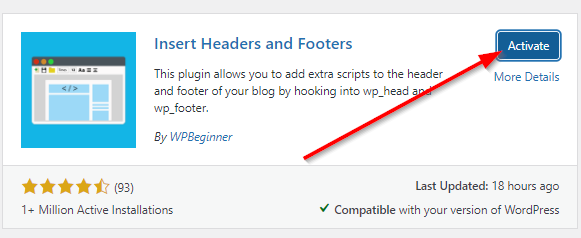
Click Activate.
Now go to Settings → Insert Headers and Footers on your WordPress dashboard.

On the plugin’s page, scroll down to Scripts in Footer.
Copy your code/script in this text box.
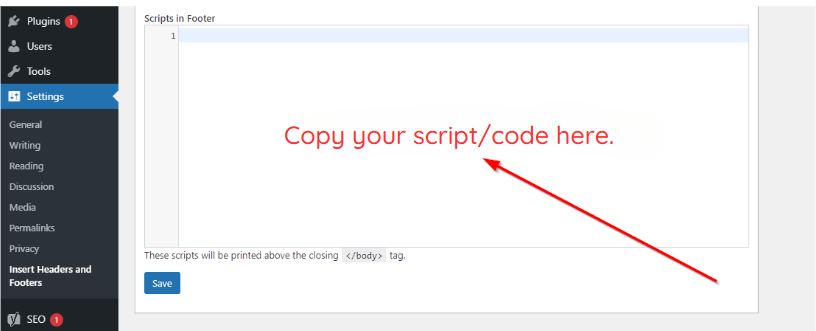
Click Save to publish the changes.
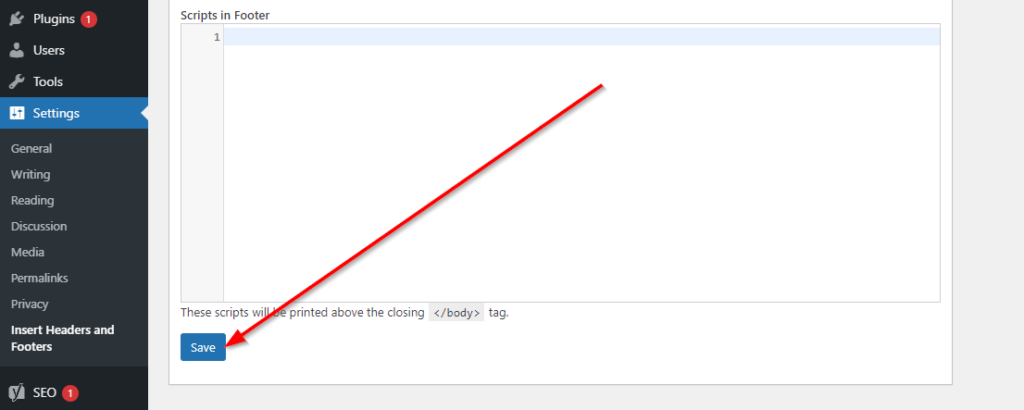
You’ve successfully added your code/script above the closing </body> tag. This isn’t a mistake. Your scripts get added just above the closing body tag even though you’re editing the footer. Go to a preview of your site to confirm your footer edits were successful.
5. Remove “Powered By WordPress” From The Footer
A quick edit most people like to do to their footer in WordPress is to remove “Powered by WordPress.”
You can do this through Appearance → Customizer in your WordPress dashboard in some themes, as previously shown in this post.
But if your theme’s customization options don’t allow editing the footer, you’ll need to remove it by editing the code of your site’s footer.php file.
We don’t usually recommend editing the code directly, but this one’s simple.
Here’s how to do it.
Note: We’ve used the TwentySixteen WordPress theme for this example.
Sign in to your site’s WordPress dashboard.
Go to Appearance → Theme Editor.
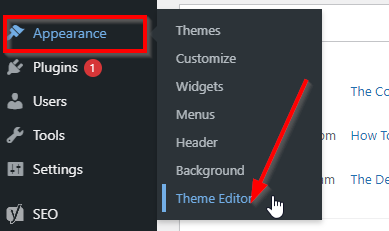
In the Theme Files list on the right of your screen, find and click on footer.php.
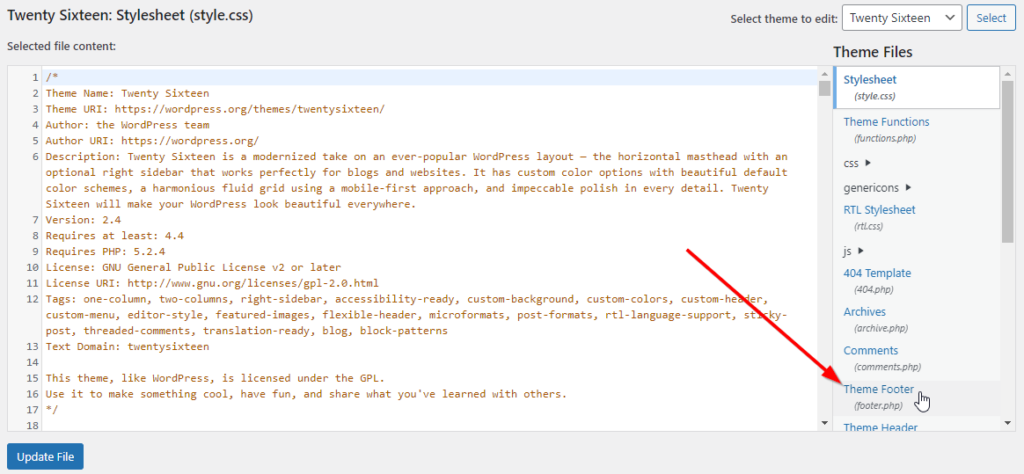
Before editing the code of this file, press CTRL+A to select the code and press CTRL+C to copy it.
Now, open a new Notepad file on your computer. Paste the code in the blank Notepad file. This is your code’s backup in case anything goes wrong.
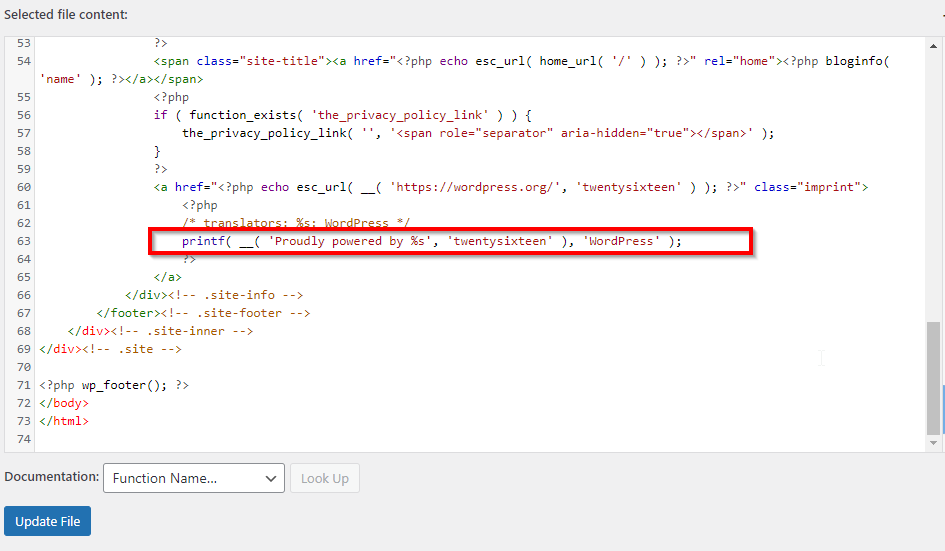
Back in the footer.php window, press CTRL+F to open the text search box. Type “powered by” into the search box.
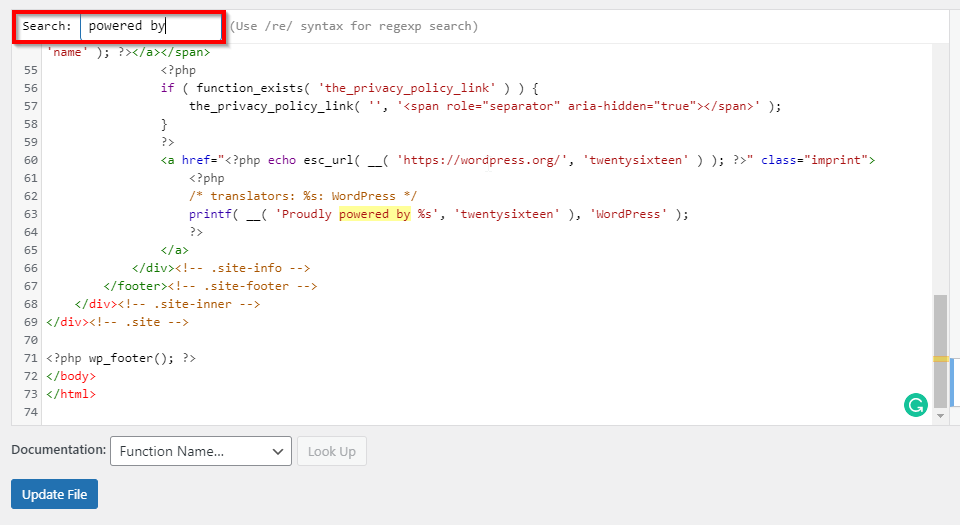
Select and remove the highlighted line from your code.
Click Update File.
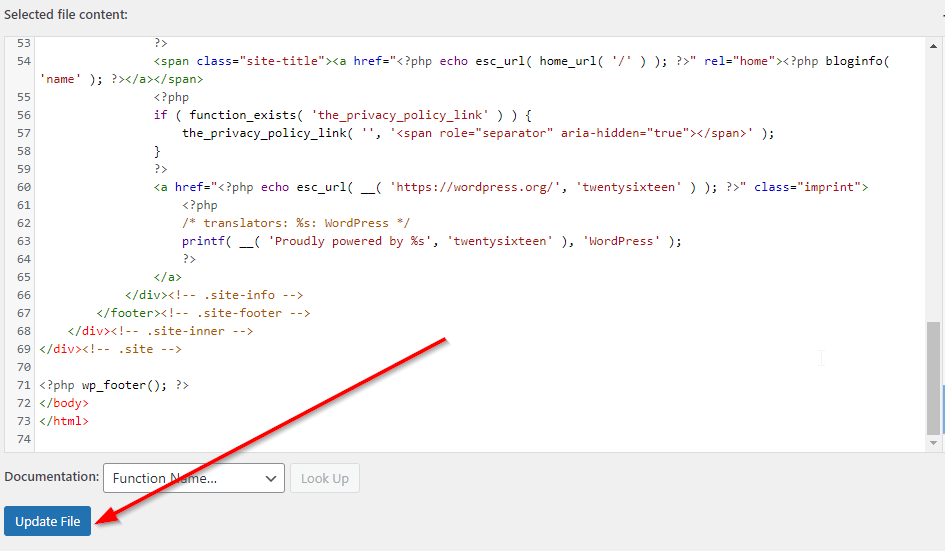
You’ve successfully removed “Powered by WordPress” from your site’s footer.