An online store can unlock a global audience and customer base—even if you’re shipping from your kitchen table or a small brick-and-mortar. We’re talking sold-out shelves, measurable growth, and access to buyers worldwide without adding overhead you don’t need.
After building hundreds of websites and running multiple online businesses, we’ve nailed the exact steps (and order) that make launching fast and painless. In this guide, you’ll learn how to create an ecommerce website as fast as possible—with the right foundations for growth, SEO, and ongoing optimization.
If you’re looking for an ecommerce platform that’s fast, easy, customizable, flexible, and scalable, Wix is the way to go.
Wix is our #1 recommendation for creating an ecommerce website because it bundles everything you need to get started in one place. You get a one-year free domain voucher on eligible annual plans, 0% Wix commission on sales (standard payment processing fees still apply), 2,000+ free design templates, and a drag-and-drop builder—so you can go from idea to live store in hours, not weeks.
Ready to get started? Here’s how to launch your ecommerce site right now—step by step.
Step 1. Sign Up with Wix
First, create a Wix account. Click “Start Selling Now” or “Create with AI” and follow the prompts.

You can sign in with your Google or Facebook account, or sign up with email—either works.
Wix will ask a few onboarding questions to understand your goals. When it asks what type of site you’re building, search for “ecommerce store” and select it to unlock store-specific features from the start.
Step 2. Choose How You Want to Set Up Your New Store
After the initial questions, choose between using Wix’s AI Website Builder or building from scratch in the editor.
We recommend the AI option because it’s the fastest route to a polished, fully linked store. It wires up the pages, menus, and store infrastructure for you—so you don’t waste time on layout plumbing.
You can edit anything later—swap images in seconds, update copy, change layouts, and add new sections as you learn what resonates.
We’ve launched stores both ways; starting with the AI wizard is simply faster and avoids common setup mistakes. It also tailors layouts to your business type (glasses, bakery, apparel, digital products, subscriptions, and more), so you begin with a design that already fits your category.
Bottom line: if speed to launch matters, use the AI wizard.

Click “Start Now” on the left to begin.
Step 3. Answer AI Wizard Questions
Next, answer a few questions about your business so Wix can tailor your site.
The first prompt—“What do you need on your new website?”—lets you select features like an online store, bookings, subscriptions, events, blog, or a portfolio. Pick what you need now; you can add more later.

Review every option and check anything relevant. Then click “Next.”
Give your store a name. If you already have a site, you can try importing images and text; if not, starting fresh is often cleaner.
Confirm your business details—logo, address, phone, and social profiles—so they’re ready to populate your site.
When you’re done, click “Next.”
Step 4. Pick a Theme
Choose a color and font combo (Wix calls this your theme). This guides the AI on style and sets your global design tokens.
Think about the look your audience expects—minimal and airy for fashion, bold and high-contrast for streetwear, warm and rustic for bakeries—but don’t overthink it. You can change it later.
Select something you like and move on.

Step 5. Select a Homepage Design
Now choose your homepage—the curbside view of your brand and the first place new visitors land.
Prioritize layout and conversion-ready sections (hero, featured collections, social proof, newsletter capture) over colors or fonts—you’ll refine those later.
Wix’s pre-designed pages are solid out of the box. Usually you’ll only need to swap imagery, featured products, and copy to be launch-ready.

As you pick, focus on structure and functionality (product grids, filters, search, reviews). You can reorder, add, or remove sections later.
Wix’s drag-and-drop editor makes all of this simple; the templates just give you a head start.
Step 6. Add Pages to Your Site (1 Minute)
Now add your core pages. At minimum, include:
- An About page
- Store policies (shipping, returns, warranties)
- A FAQs page
- Contact page
- Privacy policy
- Terms and conditions
- Cookie notice / preferences
- Accessibility statement
These pages help customers trust your store and quickly find answers, which reduces friction at checkout.
A privacy policy is required by law in many jurisdictions. You can use a generator, buy a template, or (best) work with an attorney to ensure compliance for your specific business and geography.
Terms and conditions aren’t always required, but they protect your business by setting expectations for site use, purchases, and disputes.
Your lawyer can help with these pages, including accessibility and cookie disclosures.

Wix makes adding pages a few clicks. Select what you need, then click “Edit Site” in the top-right to continue.
Step 7. Customize Your Store
Good news—you’re ready to customize.
Keep this first pass light. One strength of Wix is how quickly you can iterate as you learn from real visitors. Get a solid baseline live, then refine.
As orders come in, you’ll learn who your customers are, what they care about, and how they browse. Use those insights to guide design and copy changes.
For now, set global basics: brand colors, logo, typography scale, navigation, and footer. Make sure your header includes contact info and social links if you use them.

Click anything to edit it—Wix will open the relevant settings. Don’t let the options overwhelm you; familiarize yourself with the builder by trying simple tweaks first.
When you click the header, for example, you’ll see options to control layout, branding, and utilities.

Add your logo, phone number, and social links, and confirm your cart and account icons display clearly.
Repeat this process across your homepage and key pages. Elements may vary based on your theme, but the workflow is the same.
Replace placeholder text with concise, customer-focused copy before you publish. Make sure your value proposition and shipping/returns highlights are visible above the fold.
Step 8. Add Products
In the editor, you’ll see “dummy” products in your storefront. Use these to speed up setup—click to manage and replace them with your real items.
Every theme positions product sections a bit differently, but most have a featured grid on the homepage you can jump into.

Hover the product section and click “Manage.”

This opens your dashboard, where you’ll add and organize products, track inventory, and configure variants.
For now, focus on listing products. You can fine-tune the rest later.
Go to “Store Products” and click “+ New Product.”

Or edit placeholders directly. Upload high-quality images, set the type (physical or digital), assign a real SKU, and enable inventory tracking.
Add a benefit-focused product description, key specs, care instructions, and size/color options as needed. Include dimensions and materials; buyers shouldn’t have to guess.
It’s best to be as descriptive as possible. Anticipate questions and answer them in the listing—this reduces returns and boosts conversions.
Click “Save” when you’re done to add the product to your storefront.
Note: If you add brand-new items instead of editing placeholders, delete the dummy products so customers only see what you sell.
When your products are loaded, close the dashboard to return to the editor.
Step 9. Customize Your Cart (1 Minute)
Every store needs a cart so shoppers can review items before checkout. The AI setup generates a cart automatically—now fine-tune it.
Open the “Page Home” dropdown in the editor and choose “Manage Pages.”
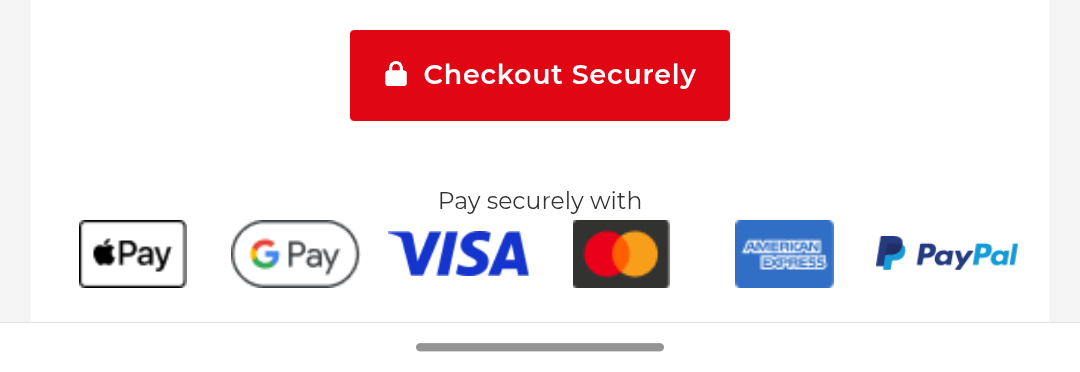
Select “Cart” to adjust the page. Ensure the cart summary is clear, shipping/returns info is easy to find, and buttons are prominent on mobile. Enable express options like Apple Pay/Google Pay if you plan to accept them.

Step 10. Set Up Shipping and Payment Methods
Next, configure shipping and payments.
Decide whether you’ll ship domestically only or internationally. Define your regions, then set rates: free shipping thresholds, weight-based, flat-rate, or carrier-calculated options. Offer local pickup or delivery if it fits your business.
To manage shipping, open your dashboard.

Look for “Set up shipping regions.”

Adjust U.S. and international settings as needed. Use free shipping thresholds to nudge larger carts, or apply real-time carrier rates if you prefer precision.
For payments, go to “Accept Online Payments.”

Wix supports credit/debit cards, PayPal (managed directly through Wix Payments in supported regions), and more. Security is handled for you with modern encryption and PCI DSS compliance.
If you enable credit card payments, Wix handles the heavy lifting behind the scenes.

With credit card payments enabled, Wix provides buyer and seller protection and accepts all major cards.
Note: In the U.S., typical processing fees are 2.9% + $0.30 per transaction. Fees vary by country, payment method, and card type.
Step 11. Upgrade to a Paid Plan and Launch Your Ecommerce Store
From your dashboard, click “Upgrade Now.”

Choose one of Wix’s ecommerce plans (Core, Business, or Business Elite). Pricing currently starts at $29 per month (billed annually) and scales up with advanced features. Pick the tier that fits your current needs—you can always upgrade later.
On entry plans you can expect: a free domain voucher for one year, generous storage and bandwidth, the ability to accept online payments, and an ad-free storefront.
We generally recommend starting with the lowest ecommerce plan that supports your feature needs, then upgrading to higher tiers (like Business or Business Elite) as revenue grows.
After upgrading, return to the editor and click “Publish” in the upper-right corner.

Wix will ask whether to publish on a free Wix domain or a custom domain. You can’t accept online payments on a free domain, so connect your custom domain to start selling.
This is why we upgraded first—so you can connect your domain immediately and launch with payments enabled.

Use your free domain voucher on eligible annual plans, follow the prompts to claim it, and click “Publish and Continue.”
That’s it—you’re live. Congrats on launching your ecommerce website!
Ready to Start Selling Online?
There are plenty of ecommerce builders out there, but Wix is our #1 choice because it makes building and launching a professional store straightforward—even if this is your first time.
Remember: once traffic hits your site, keep improving. Add clear product photos and alt text, tighten your descriptions, surface reviews, enable abandoned-cart emails, and streamline mobile checkout. Small, continuous optimizations compound into real revenue growth.
Continuous improvement is the key to ecommerce success.