Featured
-

The 5 Best Website Optimization Tools Compared
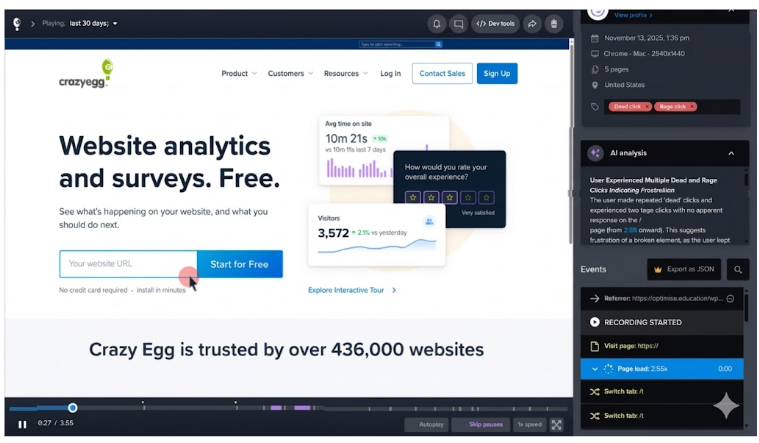
Your website might be losing visitors without you even knowing it. Slow load times, confusing navigation, or pages that don’t show up in search results…
Popular
-

The 31 Best Homepage Design Examples for Your Website
The first step in winning over more customers is to understand the essential elements that…
-

7 Call to Action Examples You Have Never Seen Before
At great risk to my sanity, I went to find call to action examples (CTAs)…
-
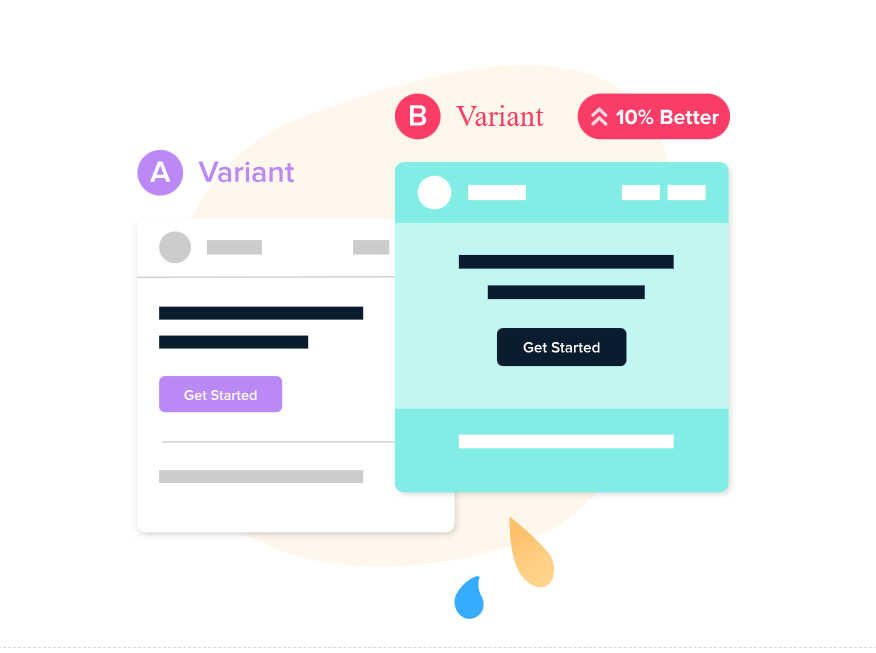
A/B Testing Basics: How to Get Valid, Actionable Results
If you’re not A/B testing your site, you’re leaving money on the table. The only…
Get more customers from the traffic you already have
Expert insights on marketing, conversions, and usability from the Crazy Egg team
-

Product Update: Google Analytics 4 (GA4) Integration for Crazy Egg A/B Tests
You can now use Google Analytics 4 (GA4) to analyze and segment engagement metrics, for each of your A/B Testing page variants on Crazy Egg….
-

Crazy Egg vs. AB Tasty: Each Tool’s True Strengths
Can’t decide which is better for your team, Crazy Egg or AB Tasty? Crazy Egg is the better fit if you want one tool that…
-

Mobile Checkout Optimization: 11 Highest-Impact Fixes
Mobile checkouts have an abandonment problem. You’ve seen the stats: DynamicYield’s April 2026 benchmark data puts 74% of ecommerce traffic on phones, but mobile cart…
-

Crazy Egg vs. Contentsquare: Each Tool’s True Strengths
Trying to choose between Crazy Egg and Contentsquare? Crazy Egg is a better UX and conversion rate optimization platform if you want heatmaps, session recordings,…
-

Crazy Egg vs. Optimizely: Each Tool’s True Strengths
Can’t decide which is better for your team, Crazy Egg or Optimizely? Crazy Egg is a better choice if you need an all-in-one website optimization…


Make your website better. Instantly.
Over 400,000 websites use Crazy Egg to improve what’s working, fix what isn’t and test new ideas.