These days, being able to produce video is becoming more of a necessity than a “nice-to-have” for online marketers. Check out these stats:
- Creating a video of a product increases the likelihood of a purchase by 144%.
- Having a video on your homepage can increase conversion rates by 64-85%.
- 100 million hours of video was watched on Facebook just over a year ago. Guess what that number is now?
As the figures show, video is the future, and video marketing is the key to the right promotion of your product or service.
Lucky for us, the iPhone shoots beautiful video right out of the box
The one thing Apple really focuses on is the iPhone’s ability to shoot great video. And this is a lifesaver for cash-strapped marketing departments.
You can easily shoot a video on your iPhone, edit it a bit, and share it with no special skills or equipment. Chances are, it will look great without too much additional effort required on your part.
In this article, we will walk you through the process of taking your iPhone video marketing to the next level. We will talk about how to set up a studio in the office, what additional equipment you may need, what kind of videos you can shoot, what software to use when editing, and how easily you can share it with your client base.
Let’s dive in to specifics on how you can transform your iPhone into a well-oiled video machine.
Your Story
So you know what you want to sell or promote. Now you need to think of how to do it. Answer the following questions and keep them in a document to serve as a guiding framework for your video marketing efforts:
- What is the story that would appeal to your customer base?
- What are the key factors that they care about?
- How can you solve their problems with your product?
As soon as you have all that down, you can move on to scripting and creating your video.
Scripting

Theoretically, a good script can save you time and help you avoid reshooting your video. However, becoming a good script writer takes practice and plenty of failure.
So what do you do?
Answer: Just dive in.
You need to get your hands dirty shooting videos, making mistakes, and discovering what it takes to make great videos. There is really no better method.
And so one of the best approaches is to spend a day pumping out videos, reshooting them, and fine tuning your scripting process. As you make mistakes and have “ah-ha!” moments, jot down notes. At the end of the day, take some time and create a script template. This template will include notes, cues, and a format to follow for all future videos you produce.
Here’s an example template for a hypothetical company that reviews video production equipment:
XYZvideoinc Script TemplateIntro music (logo fade in / fade out)
Introduction spiel: “Hi, I’m Darcy Smith with XYZvideoinc and today we’re going to review the _____________”
Fade in / fade out transition to product/item close-up.
Describe model:
- Model Name / Serial Number
- Model release date
- New impressive feature 1
- New impressive feature 2
- New impressive feature 3
- Model price
Outro spiel: “Be sure to subscribe to this YouTube channel to get the latest video production product news and be sure to visit XYZvideoinc.com.”
Outro music (logo fade in / fade out)
This is obviously an overly simplified script template, but it’s worth starting with something as basic as this. You’ll be surprised how many times you’ll forget to mention your website URL or struggle to find “outro words” (causing you to need to do a reshoot) without a document like this to remind you.
Now it’s time to set up a studio!
DIY Studio

To create a professional looking video, you’ll need to focus on your studio.
You don’t want to occupy a space that is often used as a meeting room because you don’t want to disturb the normal work flow.
On the other hand, you need a space that is spacious enough and that you can customize.
In the perfect world, we would recommend dedicating a room to your DIY Studio so you don’t need to set up the background and the equipment every time you need to shoot a video.
Let’s dive in to the specifics of what exactly you need and how exactly to set up your DIY studio.
Setting Up the Room
You will need a tripod so that the camera will be steady during the shoot. You will also need the right lighting and sound damping, the right background, and most likely an extra microphone.
Let’s take it one step at a time.
Background
You don’t want to have a strange and unprofessional background or use a wall that has imperfections in it. Choose a one-color background, either a sheet or a roll of paper (dark or white). Dark colors like black or dark gray work better since they don’t wash out the person in front of it, especially when bright light hits the face.
Editor’s Recommendation*: You may want to invest in a branded background in some cases. Bing Banners is a banner business based in Southern California that can create an inexpensive branded backdrop for your company. They have a quick turn-around time, provide great customer service, and ship anywhere in the United States.
*I rarely endorse other businesses on this blog – however I did use their service last year and was blown away at how fast they were. Also, the customer service was nothing short of amazing. They didn’t pay me to say this. Just an honest testimonial. – Sean Work
Lighting
Overhead lighting is your enemy since you’ll get nasty shadows on your face that will make your videos look unprofessional. Make sure you turn off the overhead lighting, block out as much of the natural and outside light as you can, and put one light in front of your face (or your subject) and one on either side to make yourself (or your subject) nice and lit. You don’t need fancy professional lights. You can even make them yourself:
[fve]https://www.youtube.com/watch?v=CM5eNEUS0ZI[/fve]
The Sound
If you know a bit about physics (or are just a bit observant), you know that when you are in a small empty room, there is an echo when you speak. The sound waves are reflected from the walls and “bounce” all over the room.
To fix the problem, you need something to absorb the sound. So either furnish the room or hang up some blankets. The best and ideal solution would be to use sound damping panels, but the above-mentioned options would work just fine.
This DIY video shows you how to make excellent sound damping panels for next to nothing:
[fve]https://youtu.be/pABvTWSxOes[/fve]
Don’t forget to also block out the outside noises. Ask your co-workers to be a bit quieter, and make sure you turn off the air vents or any ventilation system you have since they can be very distracting. Sometimes it’s just easier to produce videos before or after working hours to ensure a completely quiet work space.
For the best quality, use one phone for recording the video and another to record the audio. This arrangement will give you much better sound quality. Simply place the second phone closer to your mouth if possible. You can combine the video with audio later during the editing process.
Steadying the Camera
You’ll need your iPhone to be in the perfect position. Most important – it can’t move. To achieve this, you’ll need a tripod.
There are plenty of tripods on the market, and they are all pretty similar, but obviously some are better than others. I recommend something portable and small so you can easily pick it up for close-ups or setting up different angle shots.
Here are some of the best tripods and mounts:
Manfrotto Mini Tripod – it’s very high quality, sturdy, lightweight, and portable. It has a push button for head adjustment. A big advantage of this tripod is that you can attach accessories to it like LED light and lenses.

Joby Gorillapod – it’s flexible and small, the legs can bend any way you wish, and you can shoot a good looking video even in places where the surface is very uneven. You can wrap the legs around poles, and the adjustable mount lets you clip any iPhone model and shoot with ease. The tripod can also come with magnetic feet, which you can attach to most metal surfaces.

Lollipod Tripod – lightweight and tall, it’s perfect for a studio set where you don’t need to move it much. This tripod is perfect for shooting videos where the subject is standing up as opposed to the tripods mentioned above.

Glif Adjustable Tripod Mount – it’s a great mount for your iPhone and can fit both the iPhone 6 and iPhone 6 Plus. It is very sturdy and solid. You can attach it to almost any tripod (1/4″-20 tripod thread).

Joby Grip Tight Mount – it’s easy to use and has a reliable grip that is compatible not only with iPhone but also with most smartphones.

Square Jellyfish Metal Spring Tripod Mount – it’s also a pretty universal tripod mount, goes on any tripod, and has a very compact size. What I like about it is that it has a sturdy grip to hold your iPhone for the best results.

Video Editing Software for iPhone
There are many video editing applications out there that make video editing a breeze. Let’s go over a few of them now:
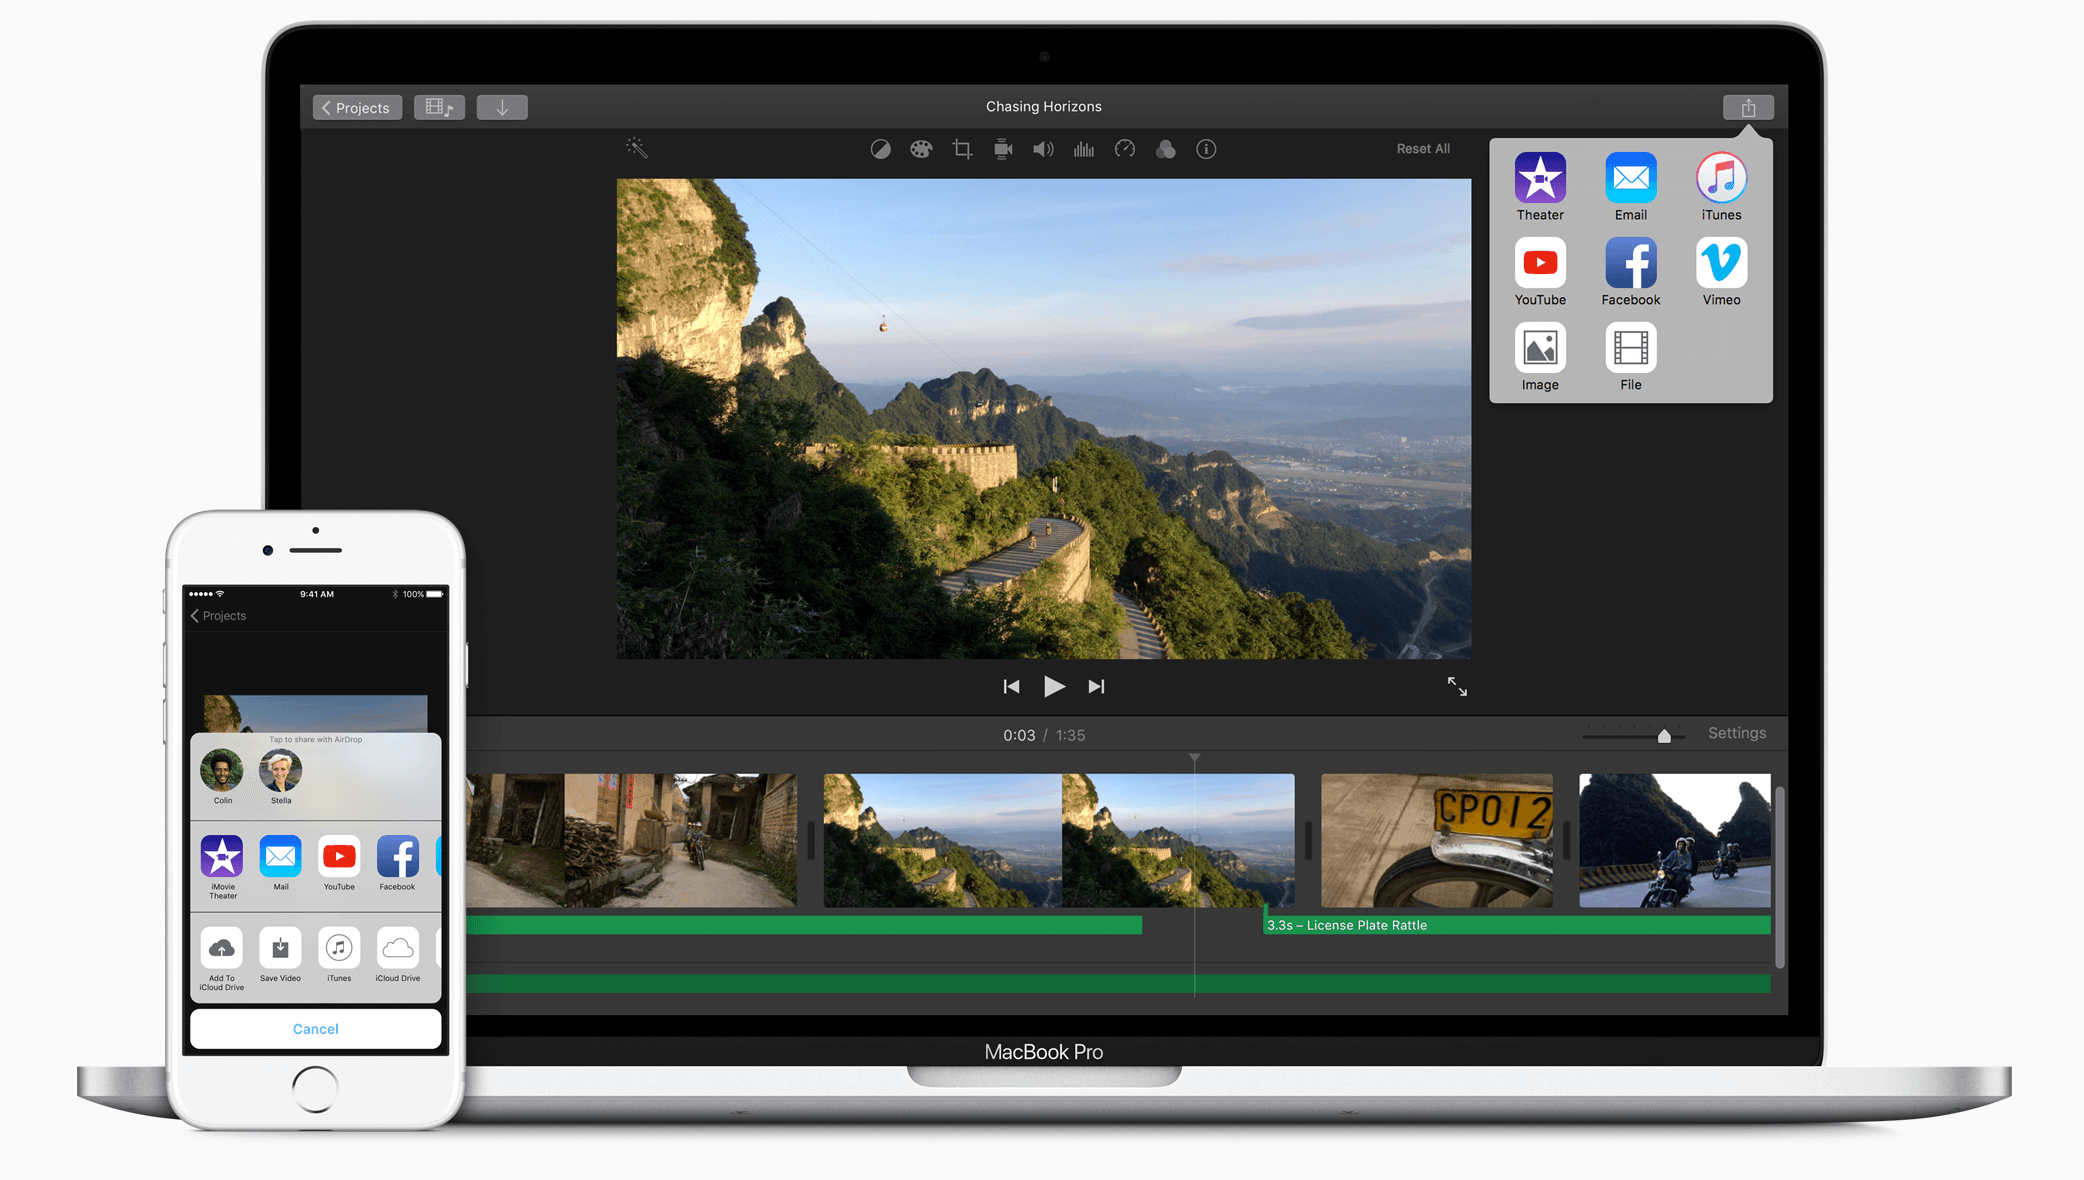
iMovie – this is the most widely used app for iPhones since it’s on the iPhone by default. You can easily edit your videos using this app – just drag, drop, and tap your way to glory. iMovie has a very forgiving learning curve!
FilmoraGo for iOS – this is one of the best video editing software out there for iOS. It features video cropping, filtering, and title elements, and you can change the speed of the video.
[fve]https://www.youtube.com/watch?v=KUmcIOv-yyg&feature=youtu.be[/fve]
Clipper – this is another video editing software that is easy to use for the not-so-advanced technology users. Another advantage is that it’s completely free. Check it out to see how easily you can make movies using pics and videos from your iPhone.

Video Types
There are many types of videos you can create, but the most widely used ones would probably be the ones you create in your DIY Studio with the help of the tips mentioned above.
There are also more engaging videos that you can make to interest your viewers, share them on your social media and website, and spread the news by simply sharing it on your YouTube channel.
Let’s dive in to what other kinds of videos you can make using your iPhone.
Seize the Moment!
You did a great job and your customer is ecstatic. The feeling is fresh and exciting. They got what they wanted, they are happy – it’s definitely the right time to ask if you can record them saying a few kind words about your service or product or simply sharing their thoughts about you or their experience dealing with you.
Later on, you can use the material to upload on YouTube (for example), and link the video back to your website.
Easy peasy, ha!
Bringing this idea to life will give you not only the exposure you need on the website but also via YouTube, Vimeo, and/or Vine – the choice is yours really.
On the Job
Seeing the creative process or even manual labor in time-lapse mode can be mind blowing:
[fve]https://youtu.be/pBeiFVHFRRg[/fve]
The most important thing that you should keep in mind is you are creating this for your customers. What would they want to see? Show them the behind-the-scenes, not only the hard working one but also the human one.
Birthdays maybe, corporate getaways, very happy customers, and so on and so forth – there are many things you can document and put out there for others to see. Just make sure to present it in a creative and fun way. That’s when they can go viral!
There Is No Time Like the Present
Go live!
Yes, do it!
When you turn your iPhone on and click that button to go live, all your followers on Facebook get a notification that you are live, and they can watch you.
Make sure to tag interesting places and people that you are going live with and make sure to make your live feed interesting and entertaining.
No one wants to see boring things.
Maybe you just launched a new product, you are witnessing something very interesting or iconic, maybe you are at a great conference, or cracking jokes with your fellow workers in the office cafeteria – just make sure you keep it interesting, dynamic, and vibrant!
Share It with the World
You have created the video, edited it, and now it’s ready for publishing. One thing we should not forget is to add an intro to your video, which highly enhances the brand recognition by adding a logo at the beginning of the video. It also gives a cool feel to your video.
Here is a great video-making platform that will make it easy for you to create intros and not only!
Renderforest – This is a great video-creation online platform, which allows you to create professional looking animated and otherwise videos, slideshows, and so on. It features many templates where you can upload your photos and video. It also features multi trimming, which means you can upload your full video, and cut the parts to put in different places in your video.
The intro maker is easy to use. All you have to do is choose the template that fits your needs the best from a large 102-template catalog; upload your logo; add a text to it, your slogan, or the website; choose the color or style; choose audio from the media library or upload your own or even a voice-over if you need one; and export it in the quality you need.
After you add the intro to your video, all you need to do is share it with the world.
There are many different ways you can easily publish it to different channels, like YouTube, Vine, Facebook, and so on.
Here is a great video that explains how you can upload your videos straight from your iPhone to your YouTube channel.
[fve]https://www.youtube.com/watch?v=TJmvXujqHNE[/fve]
Sharing videos on Facebook is pretty straightforward. You can share them from the Facebook app by tapping on the photo icon and then choosing the video you want to share, upload it, add the text, and bam, it’s there for the world to see.
Another way would be to do it from your phone. Just open the gallery, tap on the video you want to share, and it will bring you the options where you can share it. Just click on the Facebook icon and complete the process.
Vine added the old video upload to your feed 3 years ago, which has made the service more attractive for users to use. Keep in mind that you can only upload videos up to 15 seconds. So keep your Vine videos short. You can cut the most attractive parts of the video, or trim it to fit the length.
That’s it, ladies and gentlemen!
You have published the video. Now you can sit back and enjoy the fruits of your video marketing.
Don’t forget to never relax and always keep creating and uploading new videos to your social channels to keep your customers interested, engaged, and informed.
As a thank you to the readers here are 2 free HD 1080 quality video rendering coupon codes 🙂
- E069D5E7DF8C
- E0D474C7DDA2
Good luck!
About the Author: Today’s post was written by Roman Daneghyan.
*Featured Image Source


